
 EN

How Cup Making Machine Processes Paper?
A cup making machine does more than bend paper into a familiar shape. It coordinates paper blanks, heat, pressure, forming tools, and cup handling so that each stage supports the next one. For the people setting up or watching the line, speed is only part of the question. The paper, cup geometry, tooling, and operating sequence need to work together under real production conditions.
Paper cups usually begin as prepared material rather than raw rolls placed directly into the former. Printing, coating selection, and die cutting may happen upstream. The cup making machine then converts the sidewall blank and bottom blank into a finished cup. The exact arrangement varies by model and cup design, but the process below explains the common forming logic and the checks that matter.
Start with paperboard and blank preparation
Paperboard gives the cup its structure, while a suitable barrier layer helps the intended beverage application. A cup making machine needs blanks that match its tooling: the sidewall blank must have the correct developed shape, and the bottom disc must match the cup diameter. If paper stiffness, coating behavior, or blank dimensions change, sealing and forming can change too. That is why a material trial should use the actual paper grade and cup format whenever possible.
For food-contact applications, material documentation must be checked against the destination market and the intended use. For example, U.S. 21 CFR 176.170 addresses components of paper and paperboard used in contact with aqueous and fatty foods. This is a verification boundary, not a statement about a particular cup or machine. The converter remains responsible for confirming applicable material, ink, coating, and testing requirements.
1. Feed and position the sidewall blank
At the first forming station, a cup making machine separates a sidewall blank and brings it into position around a forming mandrel. Accurate feeding matters because a skewed blank can create a weak side seam or an uneven rim later in the cycle. Operators often look for consistent blank separation, clean edges, and reliable transfer before changing heat or pressure settings.
At this point, it is more useful to focus on material compatibility than on a fixed machine configuration. A paperboard batch that behaves differently may require the process team to review the blank, barrier layer, and forming conditions together rather than assuming the equipment alone caused the issue.
2. Form the cup body and seal the side seam
The blank is wrapped into a cylinder, creating the cup body. The overlap area is then joined, commonly through a heat-assisted process that depends on the coating system and the machine design. A cup making machine must apply the seam process consistently enough to create a stable body without damaging the paper surface.
A useful inspection point is the seam itself: it should be positioned correctly, smooth enough for the intended appearance, and secure for the cup’s use conditions. When a seam opens or wrinkles, do not jump straight to a single explanation. Check overlap, blank dimensions, paper condition, heat transfer, pressure, and timing in a defined order.
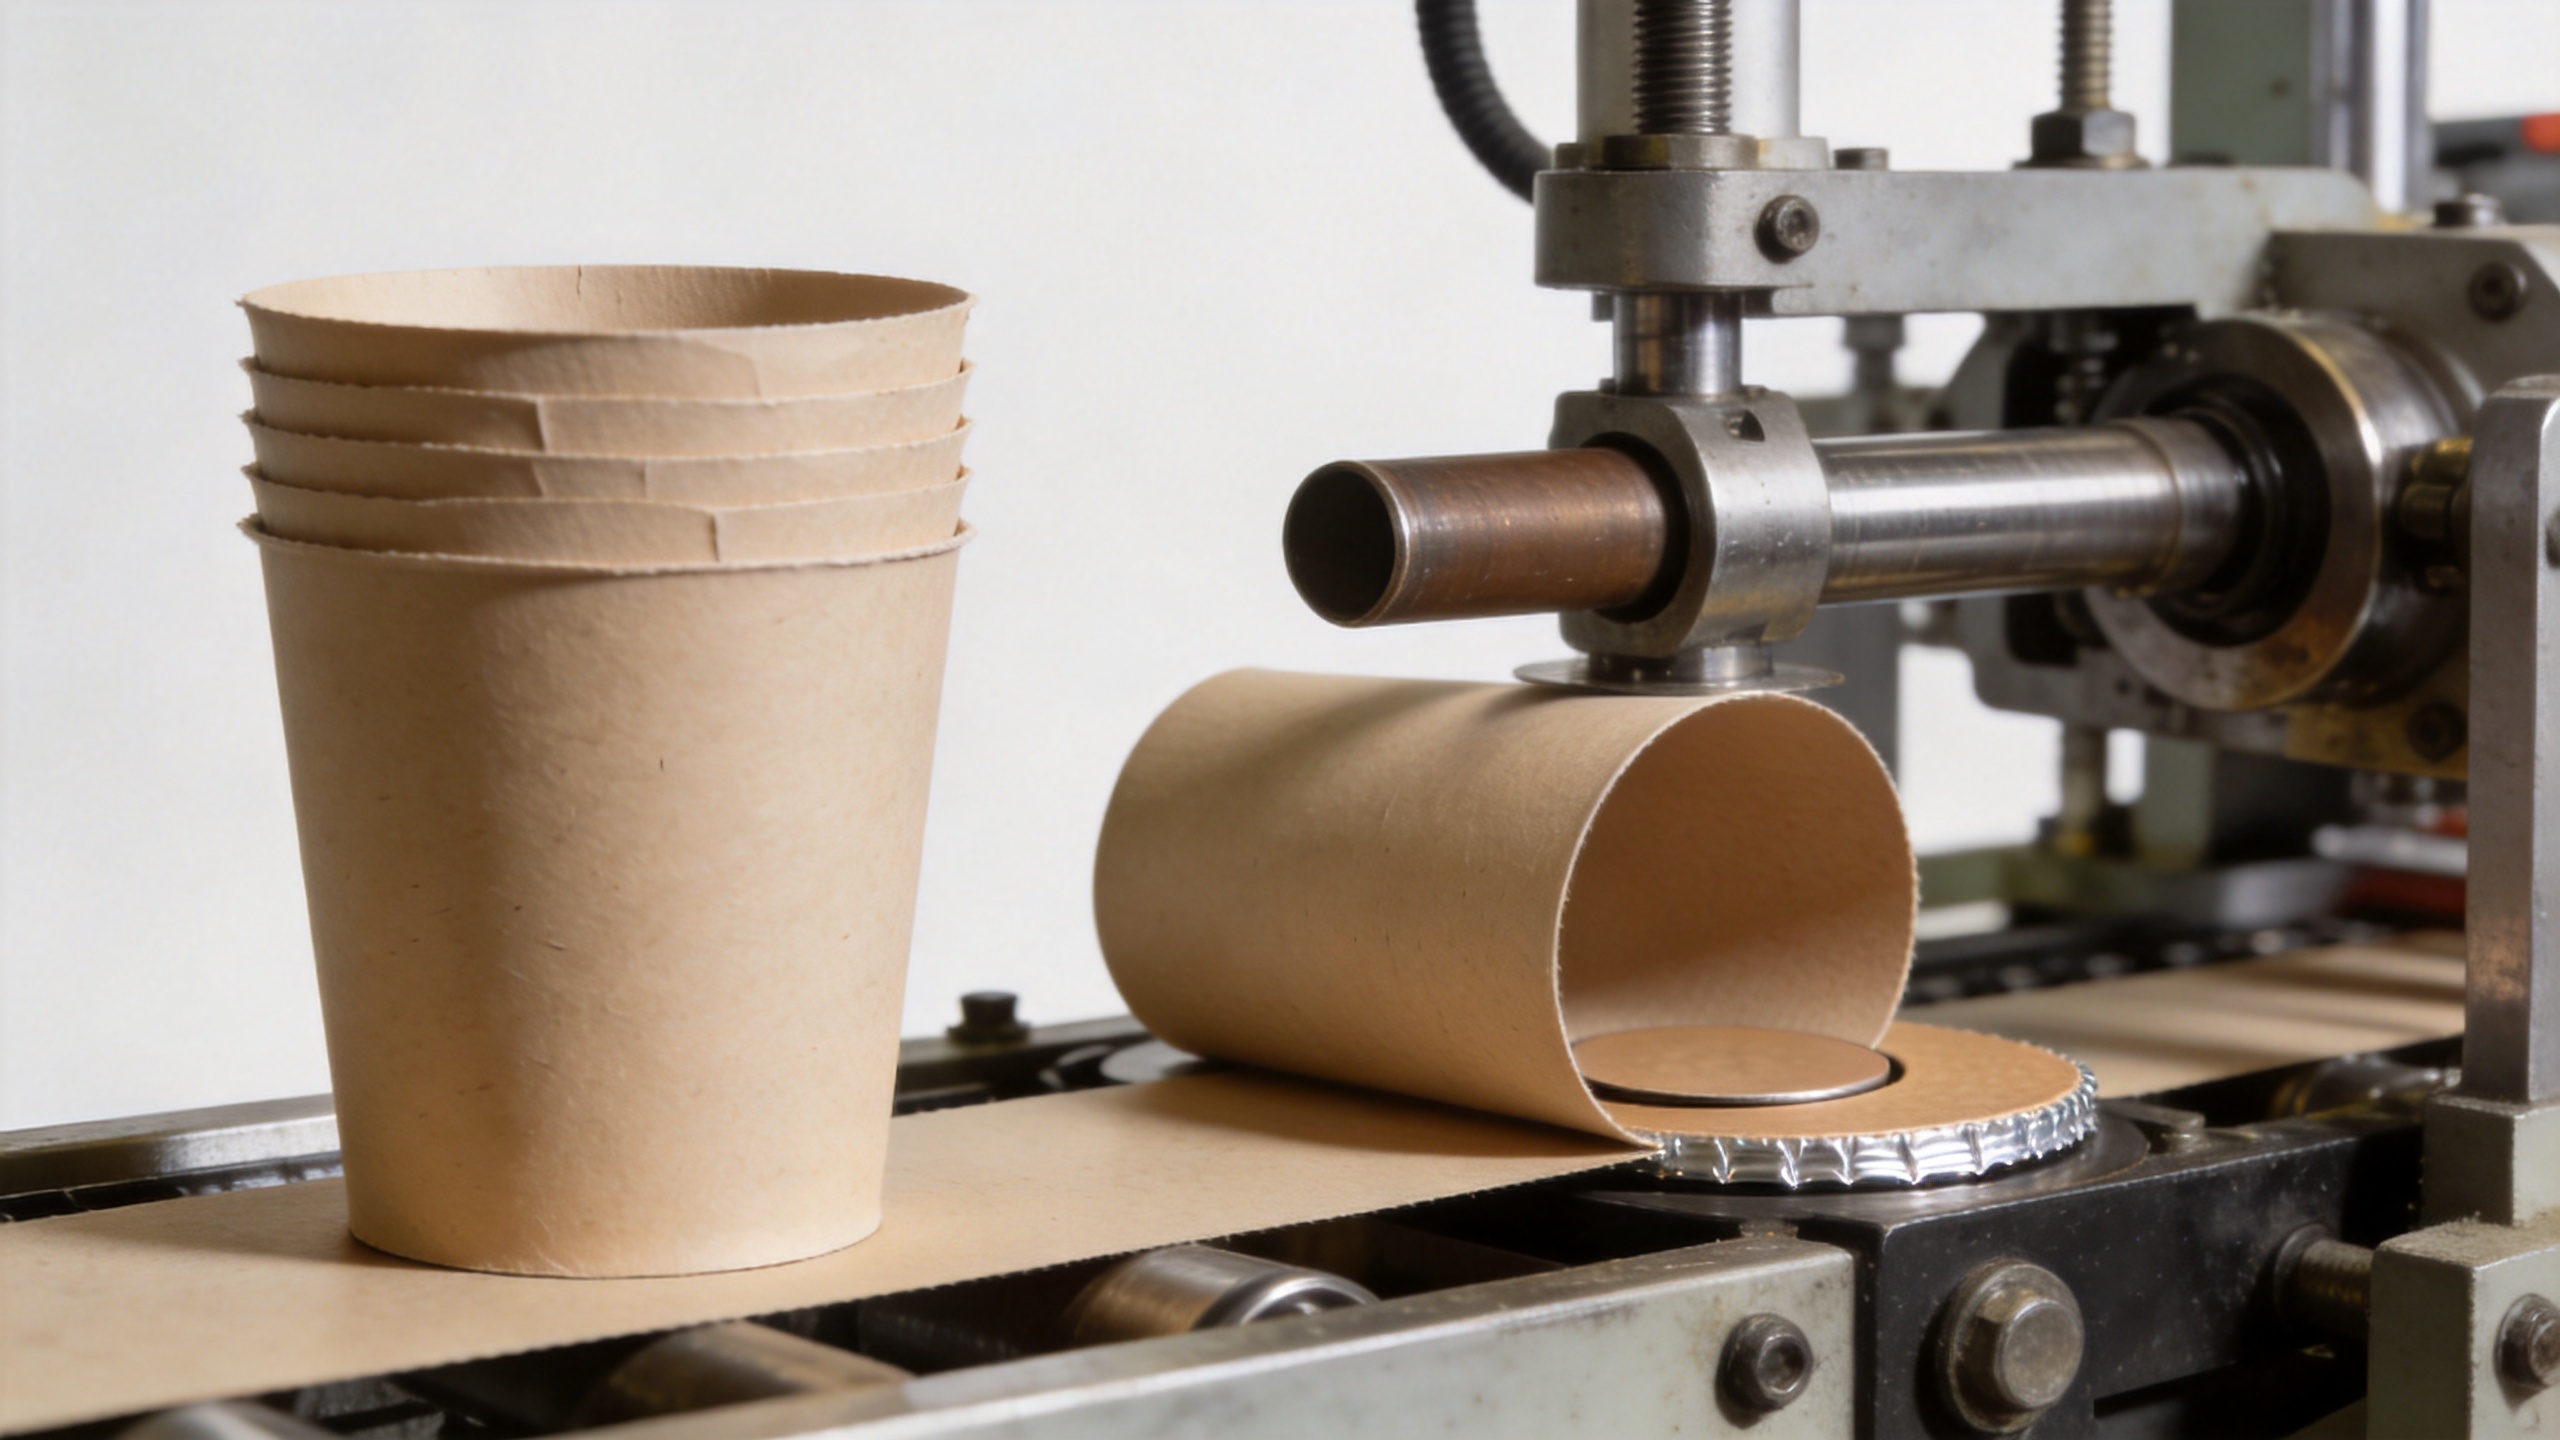
3. Insert the bottom disc
Once the body is stable, the cup making machine introduces a circular bottom blank into the lower opening. The body and bottom must align before the lower joint can be formed. This station shows why cup diameter is not the only purchasing input: the bottom profile, paper thickness, and desired cup shape influence the tooling and the process window.
The lower edge is folded around the bottom disc to create the mechanical basis for the bottom joint. Published descriptions of paper-cup forming identify bottom-disc placement, bottom forming, sealing, and knurling as separate stages. In practice, each stage needs to support the next one; a poorly positioned disc cannot be corrected merely by increasing pressure downstream.
4. Seal and knurl the bottom joint
The cup making machine applies the appropriate forming and sealing actions around the lower joint. Knurling compresses and textures the folded area, helping create a continuous bottom connection. The exact temperature, dwell, and pressure settings are machine- and material-specific, so they should be established through production trials rather than copied from a generic chart.
For routine control, inspect the bottom seam at regular intervals and retain samples when paper lots or cup specifications change. The goal is not to promise a zero-defect result; it is to define the conditions under which seam quality is assessed. If leakage or deformation appears, review material and forming conditions before making broad adjustments.
5. Curl the rim for handling and comfort
Near the end of the cycle, the upper edge passes through a curling station. A cup making machine rolls the rim into a rounded profile that improves stiffness and the drinking edge. An uneven curl can indicate a feeding issue, a tooling condition issue, or a mismatch between the blank and the cup design. It is worth checking these conditions separately instead of treating rim appearance as a cosmetic detail.
Rim curling also connects product design to day-to-day operations. Frequent changes in cup height, top diameter, or paper grade can affect changeover planning. Ask early: is the line intended for a stable single cup format, or for regular format changes? The answer affects tooling preparation, operator instructions, and the way production time is evaluated.
6. Eject, collect, and inspect the finished cup
After rim curling, the cup making machine ejects and transfers the finished cup for collection, packing, or further handling. A practical inspection routine can include cup shape, side seam position, bottom joint appearance, rim profile, and stackability. These checks are more useful when tied to a written acceptance sample and a defined inspection frequency.
In day-to-day production, the whole line matters. Upstream blank quality, material storage, machine settings, and operator response all influence the result. For that reason, a cup making machine should be evaluated as part of a process path, not as an isolated speed number.
What should you confirm before setting up a line?
- Target cup sizes, top and bottom dimensions, height, and intended beverage use.
- Paperboard grade, barrier-layer type, blank layout, and the documents needed for the target market.
- Whether the cup making machine will run one format steadily or change specifications regularly.
- How side seams, bottom joints, rim curls, and finished cups will be sampled and accepted.
- Training, cleaning, spare-part, and troubleshooting responsibilities for the operating team.
A note on similarly named equipment
Search terms can be misleading. A cup mask making machine refers to a different manufacturing application and should not be treated as paper-cup forming equipment. Likewise, a cup cake manufacturing machine serves food-production or bakery workflows rather than converting paper blanks into disposable cups. Clarifying the intended product before requesting a quotation helps keep tooling and process discussions relevant.
Conclusion
A cup making machine processes paper through a controlled sequence: feed a prepared blank, form and join the sidewall, place the bottom disc, form and seal the lower joint, curl the rim, then eject and inspect the cup. The process is straightforward to outline, but dependable results depend on the relationship between paper, coating, cup geometry, tooling, and operating practice. Before comparing configurations, document those conditions and use production trials to confirm the process for your actual cup specification.
 ONLINE