
 EN

How a Manufacturer Succeeded with Paper Cup Forming Machine?
Success with a paper cup forming machine is rarely a story about buying the fastest unit on a quotation sheet. It is a story about making the cup body, sealing surface, bottom, tooling, paper stock, and operating routine work as one controlled process. For a manufacturer moving from inconsistent trial runs to a dependable production routine, that change in focus can matter more than any single headline specification.
From a packaging-equipment selection perspective, the first question is not simply “How many cups per minute?” It is: what cup sizes, paper construction, coating system, shift pattern, and quality checks must the line support? When those conditions are defined first, a paper cup forming machine can be evaluated on the work it must actually do.
The manufacturer’s starting point: output was not the only problem
In this representative manufacturer scenario, the team had demand for paper cups but lacked a stable way to translate paper blanks into consistent finished cups. The pressure was familiar: buyers wanted reliable cup shape and seams, production wanted fewer interruptions, and procurement wanted a machine choice that could be verified before the order was finalized. No named customer, production figure, or savings claim is used here; the useful lesson is the decision process.
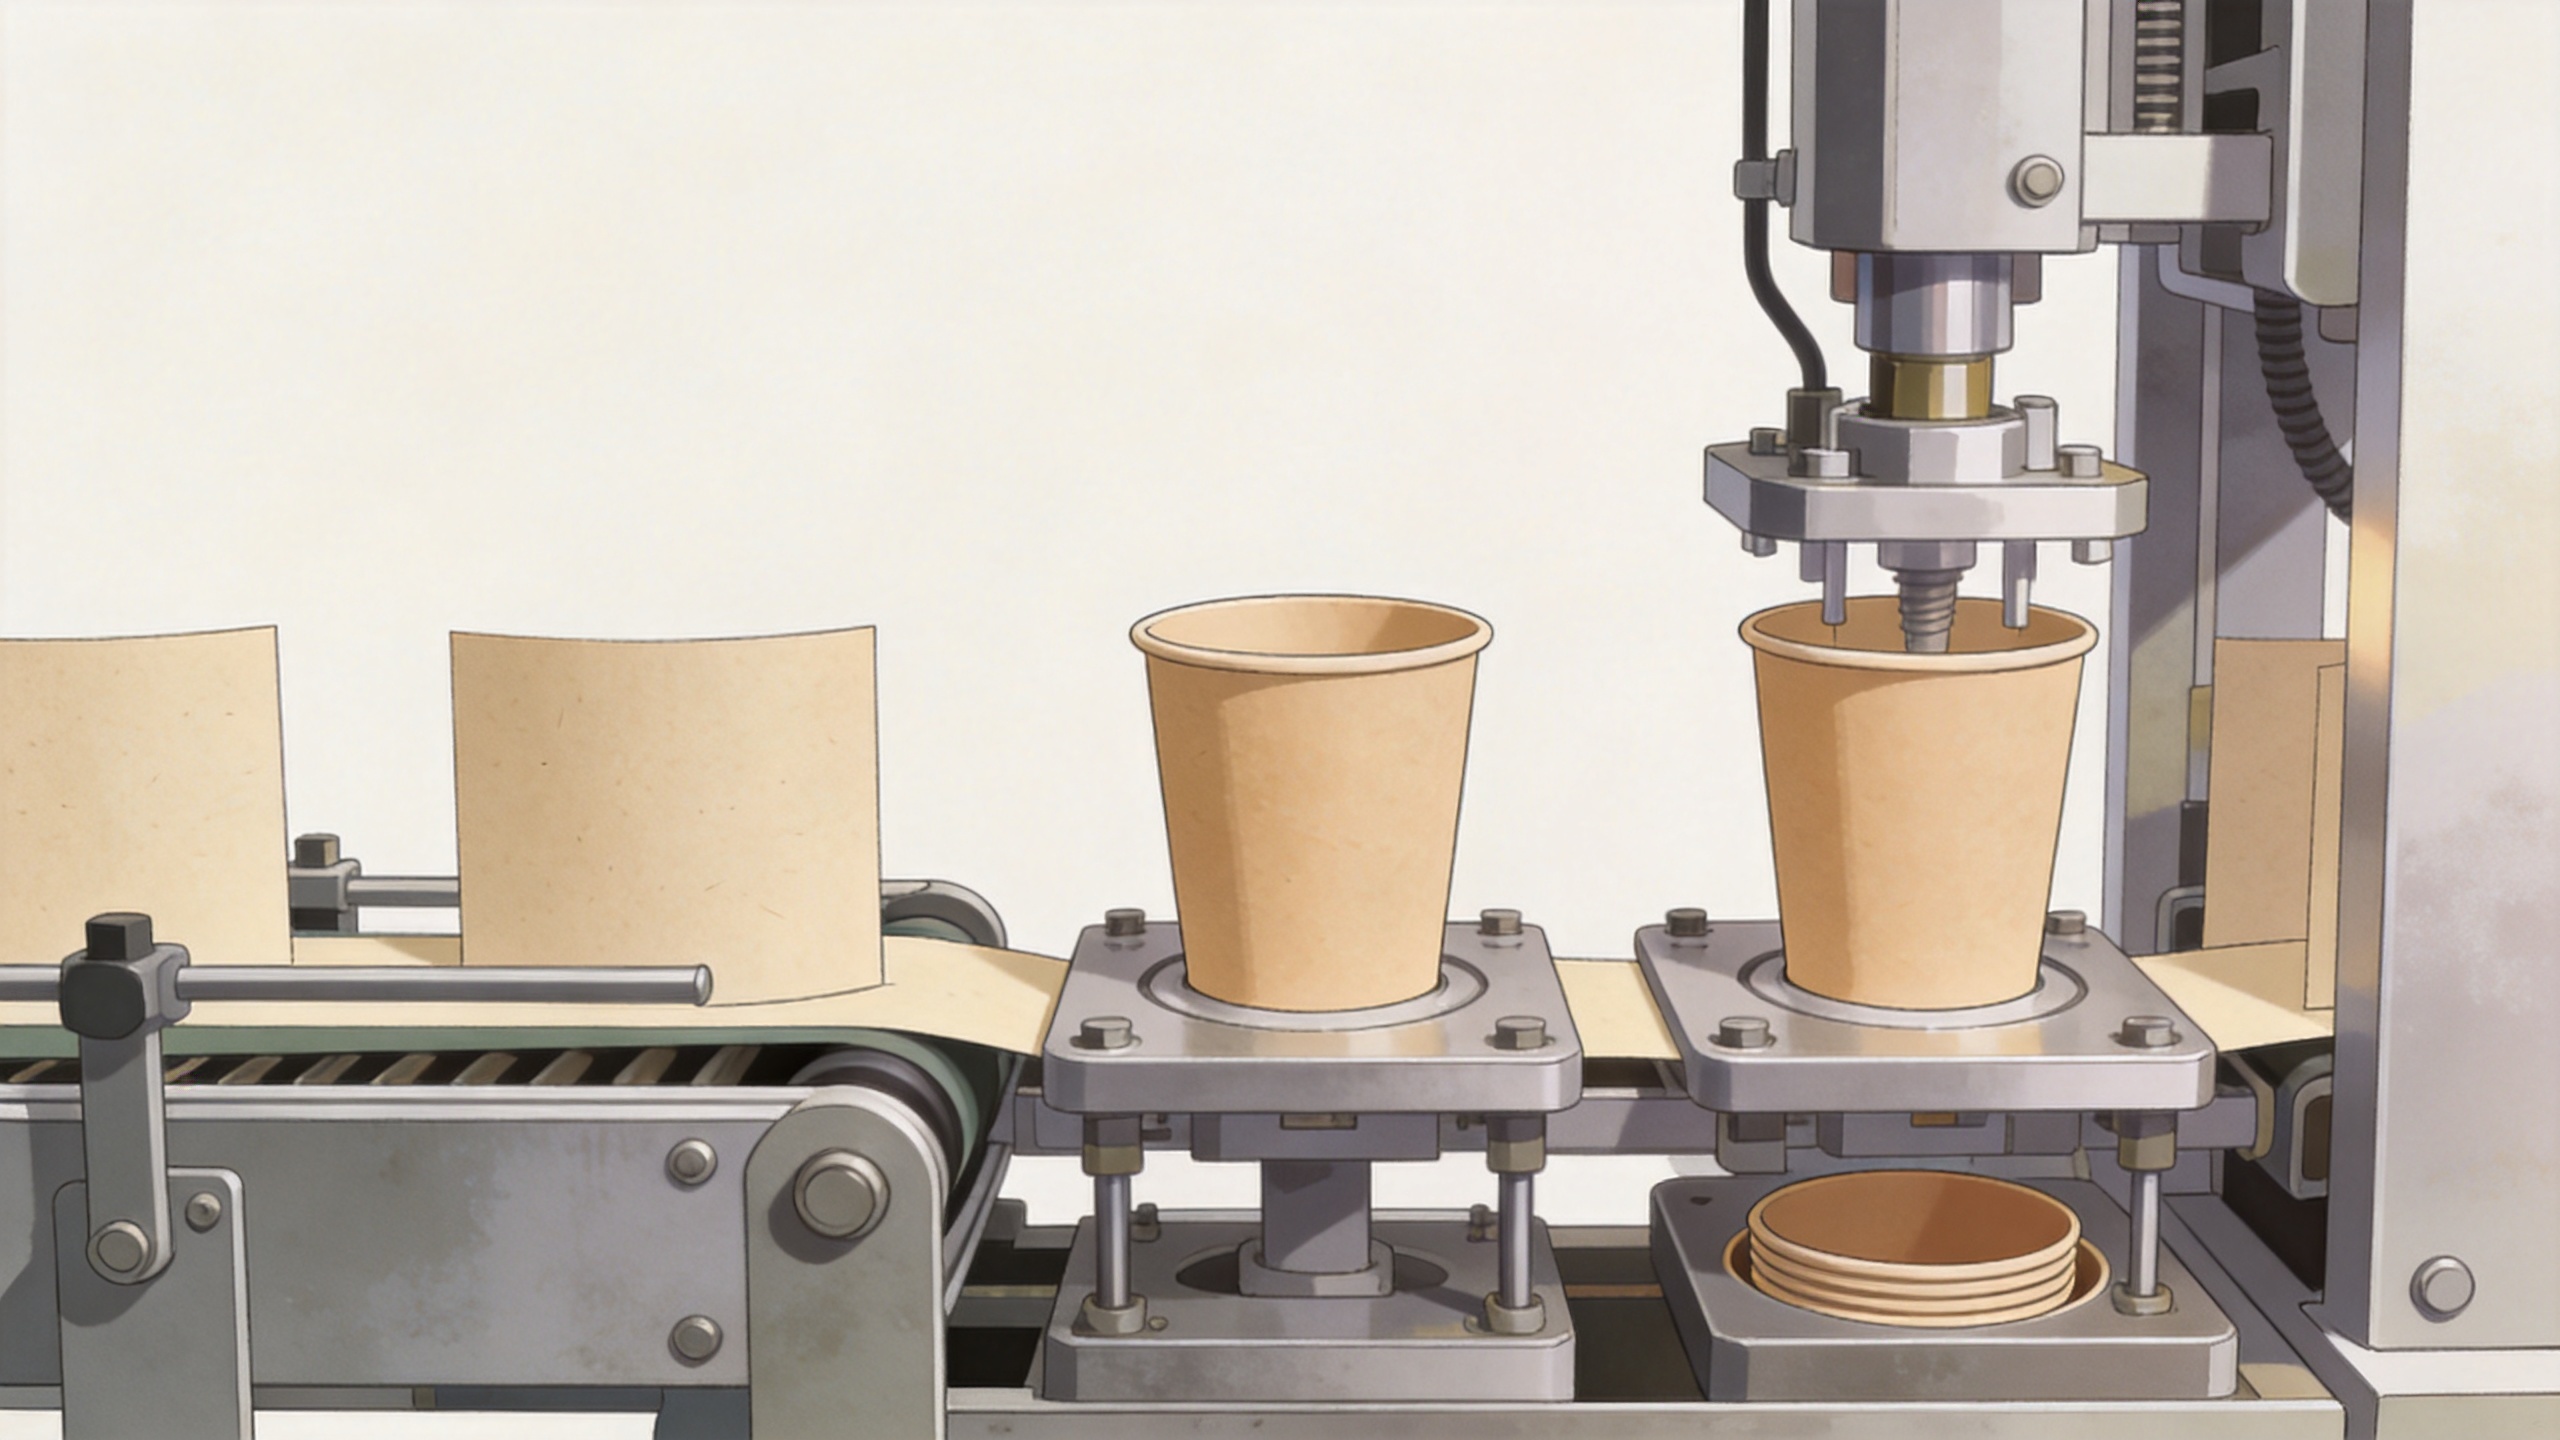
The team stopped treating the equipment as an isolated machine. Instead, it mapped the forming sequence: blank feeding, cup-body wrapping, side-seam sealing, bottom insertion and knurling, rim curling, discharge, and inspection. That map made it easier to see why a good result depends on more than the nominal speed of a paper cup forming machine.
What the process revealed about cup-body quality
Paper-cup production normally begins with pre-cut fan-shaped blanks. The blank is formed around a tapered tool, its overlapping edge is sealed, and the bottom is joined before finishing operations shape the rim. Each checkpoint has a different failure mode. A feeding issue can create skewed bodies; a poorly controlled seam can affect leakage resistance; a mismatch between paper and tooling can show up as wrinkles, uneven bottoms, or unstable stacking.
This is where a paper cup body forming device deserves attention as part of the whole forming station rather than as an isolated label. The manufacturer asked suppliers to explain how the body-forming path would be matched to the planned cup geometry and paper construction. It also requested trial criteria based on the actual blank material. That is more useful than assuming one setup will perform identically across every cup size or coating.
Heat-sealing consistency is another practical checkpoint. Available manufacturing research and process descriptions both point to the importance of controlled sealing conditions. The team therefore treated seam appearance and functional checks as acceptance items, not as afterthoughts. More accurately, it avoided assuming that a listed heating method alone assured a finished-cup result; paper grade, coating behavior, tooling condition, and operating settings still needed validation.
Why the pleating and bottom-forming stage changed the decision
The manufacturer’s early discussions focused on body speed. After reviewing the workflow, it shifted attention to how the bottom joint and rim were formed. A paper cup pleating equipment function must create a repeatable bottom profile while working with the selected material and cup design. If this stage is unstable, downstream visual inspection may catch defects, but it cannot recover production time already lost.
Rather than accept general promises, the team prepared a trial checklist:
- Use the intended paper blanks and target cup sizes in the test.
- Inspect the side seam, bottom joint, rim finish, and overall cup shape at defined intervals.
- Record the setup steps needed when a cup format changes.
- Ask which consumables, tooling checks, and cleaning routines affect stable forming.
- Agree on which observations are acceptance criteria and which require further material or process review.
This approach did not promise defect-free production. It made the risk visible early, when the manufacturer could still refine tooling, materials, operating instructions, or the proposed configuration.
Turning an equipment purchase into a controlled production plan
The resulting plan used three linked decisions. First, the manufacturer documented its product conditions: cup sizes, paper construction, coating, intended use, and expected production rhythm. Second, it evaluated the paper cup forming machine against those conditions through material-based trials and a written acceptance checklist. Third, it established operating ownership for startup, format changes, cleaning, routine inspection, and escalation when cup quality drifted.
That third decision is easy to overlook. A machine can be technically appropriate yet still underperform if operators do not have a clear response when seams change, blanks feed poorly, or the bottom-forming result begins to vary. A short, practical standard for setup and inspection gives the production team a common reference point and gives management a clearer way to review a problem.
Compliance and documentation belong in the conversation
For cups intended for food contact, machine capability and material compliance are separate questions. For example, U.S. food-contact requirements apply to the intended use of relevant substances and materials; they do not automatically prove that a forming machine is certified for every market or cup construction. The manufacturer therefore listed target-market documentation as a verification item with its paper and coating suppliers, while keeping equipment acceptance focused on the agreed manufacturing process.
That boundary prevented an avoidable mistake: treating generic equipment language as proof of final-package compliance. If the destination market, coating system, or food-contact application changes, the documentation should be reviewed again with the responsible material and compliance parties.
What “succeeded” meant in practice
The manufacturer’s success was not framed as an unverified output number or a broad claim that one paper cup forming machine suits every job. It meant the team had a repeatable way to connect paper blanks, cup design, body forming, sealing, bottom forming, and operator checks. That gave it a stronger basis for evaluating production readiness and for discussing changes with a supplier.
The same method can help another manufacturer. Start with the intended cup and material, ask for a trial built around that condition, review the paper cup body forming device and paper cup pleating equipment as linked process stages, and put inspection responsibilities in writing. If paper and cup geometry have already been confirmed, this sequence usually produces a more meaningful machine comparison than speed alone.
Next steps before selecting a paper cup forming machine
- Prepare representative blanks, cup drawings, and the intended application conditions.
- Define measurable acceptance observations for seam, bottom, rim, and cup shape.
- Ask for a process-oriented trial, not only a speed demonstration.
- Clarify format-change, maintenance, and operator-training responsibilities.
- Verify market-specific material and food-contact documentation separately from machine evaluation.
For manufacturers considering a paper cup forming machine, the practical takeaway is simple: verify the conditions that create a consistent cup before treating capacity as the final answer. A supplier conversation built around those conditions is more likely to lead to a configuration that can be tested, understood, and supported over time.
 ONLINE