
 EN

How Paper Cup Forming Machine Works?
A paper cup forming machine turns prepared cup blanks and bottom discs into finished cups through a timed sequence of feeding, wrapping, sealing, bottom forming, knurling, curling, and collection. For a buyer, the useful question is not simply whether the machine can make a cup. It is whether each station can repeat its job consistently with the cup stock, coating, size range, and production target you intend to run.
At RUIDA, we focus on paper-cup and food-packaging equipment, so we encourage operators to follow the cup through the machine rather than judge it only by the final count. That approach makes startup, format changes, and fault finding much more practical.
The basic idea: a moving blank becomes a leak-resistant cup
Most automatic paper cup equipment uses preprinted and die-cut sidewall blanks plus separate bottom discs. The cup blank already has its graphics and profile; the paper cup forming machine supplies the controlled heat, pressure, motion, and dwell time that turn those components into a usable container. A turret or indexed transfer system carries the partially formed cup from one working station to the next.
The exact arrangement differs by model, but the manufacturing logic stays the same: create a cylindrical body, close its side seam, join the bottom, lock that joint mechanically, shape the drinking rim, then discharge a cup that can be inspected and packed.
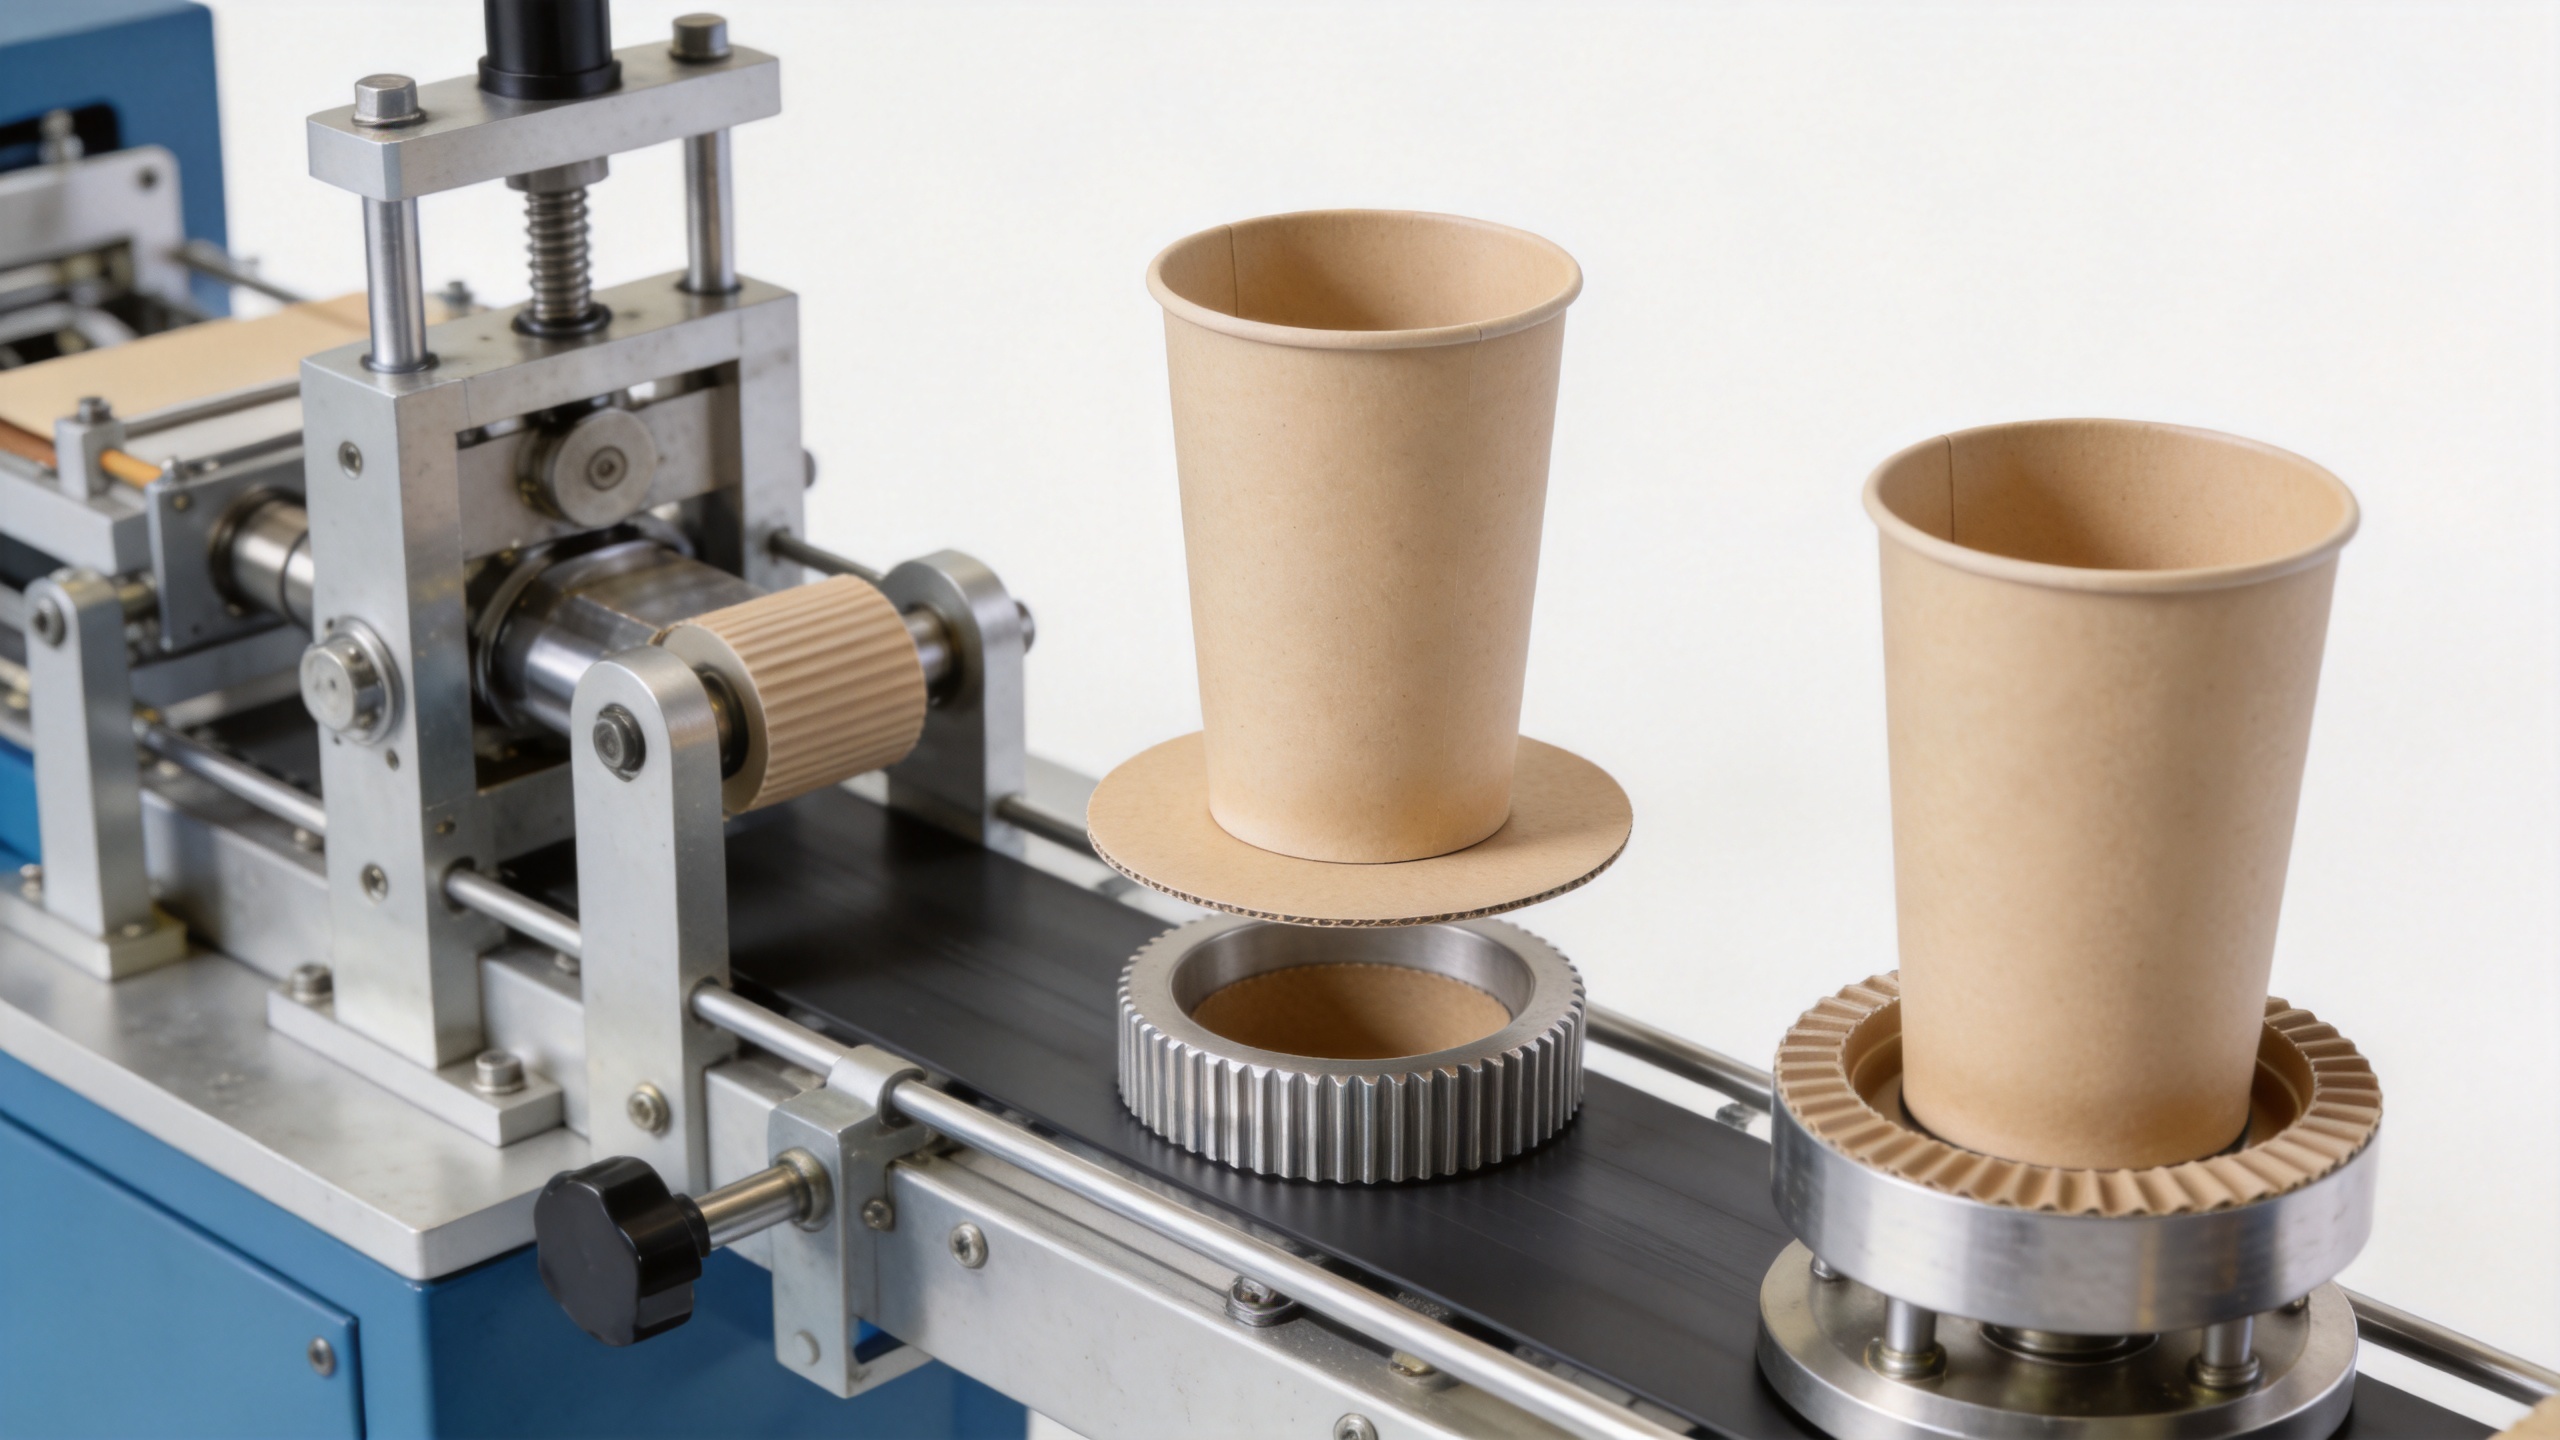
Step-by-step: what happens inside a paper cup forming machine
1. Blank feeding and separation
A magazine holds the sidewall blanks. The feeder separates one blank at a time and presents it to the forming section. Reliable separation matters because doubled blanks can create a misshapen body or interrupt the cycle. During setup, check that the stack is aligned, the blank edges are clean, and the feed mechanism picks consistently without scuffing the printed surface.
2. Body wrapping and side-seam sealing
The blank is wrapped around a mandrel or forming mold to create the cup wall. Its overlap becomes the side seam. With coated cup stock, the sealing system applies the appropriate combination of heat and pressure so the overlap bonds without burning the paper or damaging the coating. A weak seam can leak; excessive heat can discolor the material or make the seam brittle. Operators normally verify seam appearance and perform practical leak checks during commissioning.
3. Bottom disc feeding and insertion
Once the body is cylindrical, a separate bottom disc is fed into position. The open body and disc must be centered accurately before sealing. This is one reason the paper weight, cut accuracy, and bottom-disc diameter need to match the tooling specification. If a bottom is off-center, the next stations may produce wrinkles, uneven knurling, or a poor seal.
4. Bottom heating, folding, and knurling
The machine joins the lower edge of the cup body to the bottom disc, then folds and compresses the material at the joint. Knurling creates a mechanically locked pattern around the bottom area. In a well-set paper cup forming machine, the bottom joint looks even all the way around and resists leakage without excessive crushing. Check the formed cups at regular intervals rather than relying solely on a sensor or counter.
5. Top rim curling
The upper edge is curled to create a smooth, stronger drinking rim. The curl improves handling and can help the cup accept a lid, depending on the cup design. A rim that is too loose, flattened, or uneven often points to an issue with blank dimensions, material behavior, forming alignment, or curl tooling adjustment. This station deserves attention when changing cup height or paper grade.
6. Ejection, collection, and inspection
After the rim is formed, the cup is ejected and collected for sampling or downstream packing. Finished-cup inspection should include shape, seam appearance, bottom pattern, rim quality, print orientation, and leak performance. A production count tells you output; sampling tells you whether that output is usable.
What controls cup quality during the cycle?
Machine settings are only one part of the result. The following inputs work together:
- Paperboard and coating: Use food-contact materials appropriate for the destination market and the beverage application. For example, European food-contact requirements are governed at framework level by Regulation (EC) No 1935/2004; a machine alone does not establish product compliance.
- Blank and bottom-disc accuracy: Consistent die cutting supports stable feeding, overlap, and bottom fit.
- Heat, pressure, and timing: These must be matched to the cup material and seam design rather than copied blindly from another format.
- Tooling condition: Worn or contaminated mandrels, heaters, rollers, and curling components can leave repeating defects.
- Operator checks: Short, scheduled checks for leaks and appearance help catch drift before a large batch is affected.
Where do double-wall and horizontal machines fit?
A double wall paper cup forming machine adds an outer sleeve or second wall around an inner cup. The extra layer improves insulation and can provide more space for branding, but it also adds alignment and bonding steps. Buyers should confirm which cup sizes and sleeve formats the equipment supports, then test the finished cup for concentricity and a secure outer wall.
A horizontal paper cup forming machine describes a layout in which the forming process is arranged around a horizontal working path or configuration. The key purchasing issue is not the label alone. Review how the layout affects access to feeding, heating, maintenance points, inspection, and your planned automation or collection system. Ask for a demonstration using a cup specification close to your intended production format.
A practical startup and troubleshooting routine
- Confirm that blanks, bottoms, and tooling match the scheduled cup size.
- Run at a controlled speed and examine the first samples before increasing throughput.
- Check the side seam, bottom knurl, and top curl separately; each shows a different part of the forming process.
- If leaks appear, isolate whether they originate at the side seam or bottom joint before changing multiple settings.
- Record the material, setting changes, and observed defect so the next changeover starts from a verified baseline.
For example, repeated bottom wrinkles may indicate a disc-centering, material, or timing issue, while a repeating seam opening may point toward overlap, heating, pressure, or blank presentation. Make one controlled adjustment at a time and resample; changing every setting together makes the actual cause harder to identify.
Questions to ask before choosing equipment
Before selecting a paper cup forming machine, prepare a clear brief: cup diameters and heights, paper type and coating, hot or cold beverage use, target output, available utilities, quality checks, and expected format changes. Then evaluate the machine by its process control, accessibility, tooling support, and ability to produce representative samples—not by a headline speed alone.
Understanding the forming sequence gives production teams a common language. It helps purchasing compare configurations, helps operators set up systematically, and helps quality teams trace defects back to a specific station. That is the foundation for stable cup production.
 ONLINE