
 EN

How Paper Cup Glass Making Machine Runs?
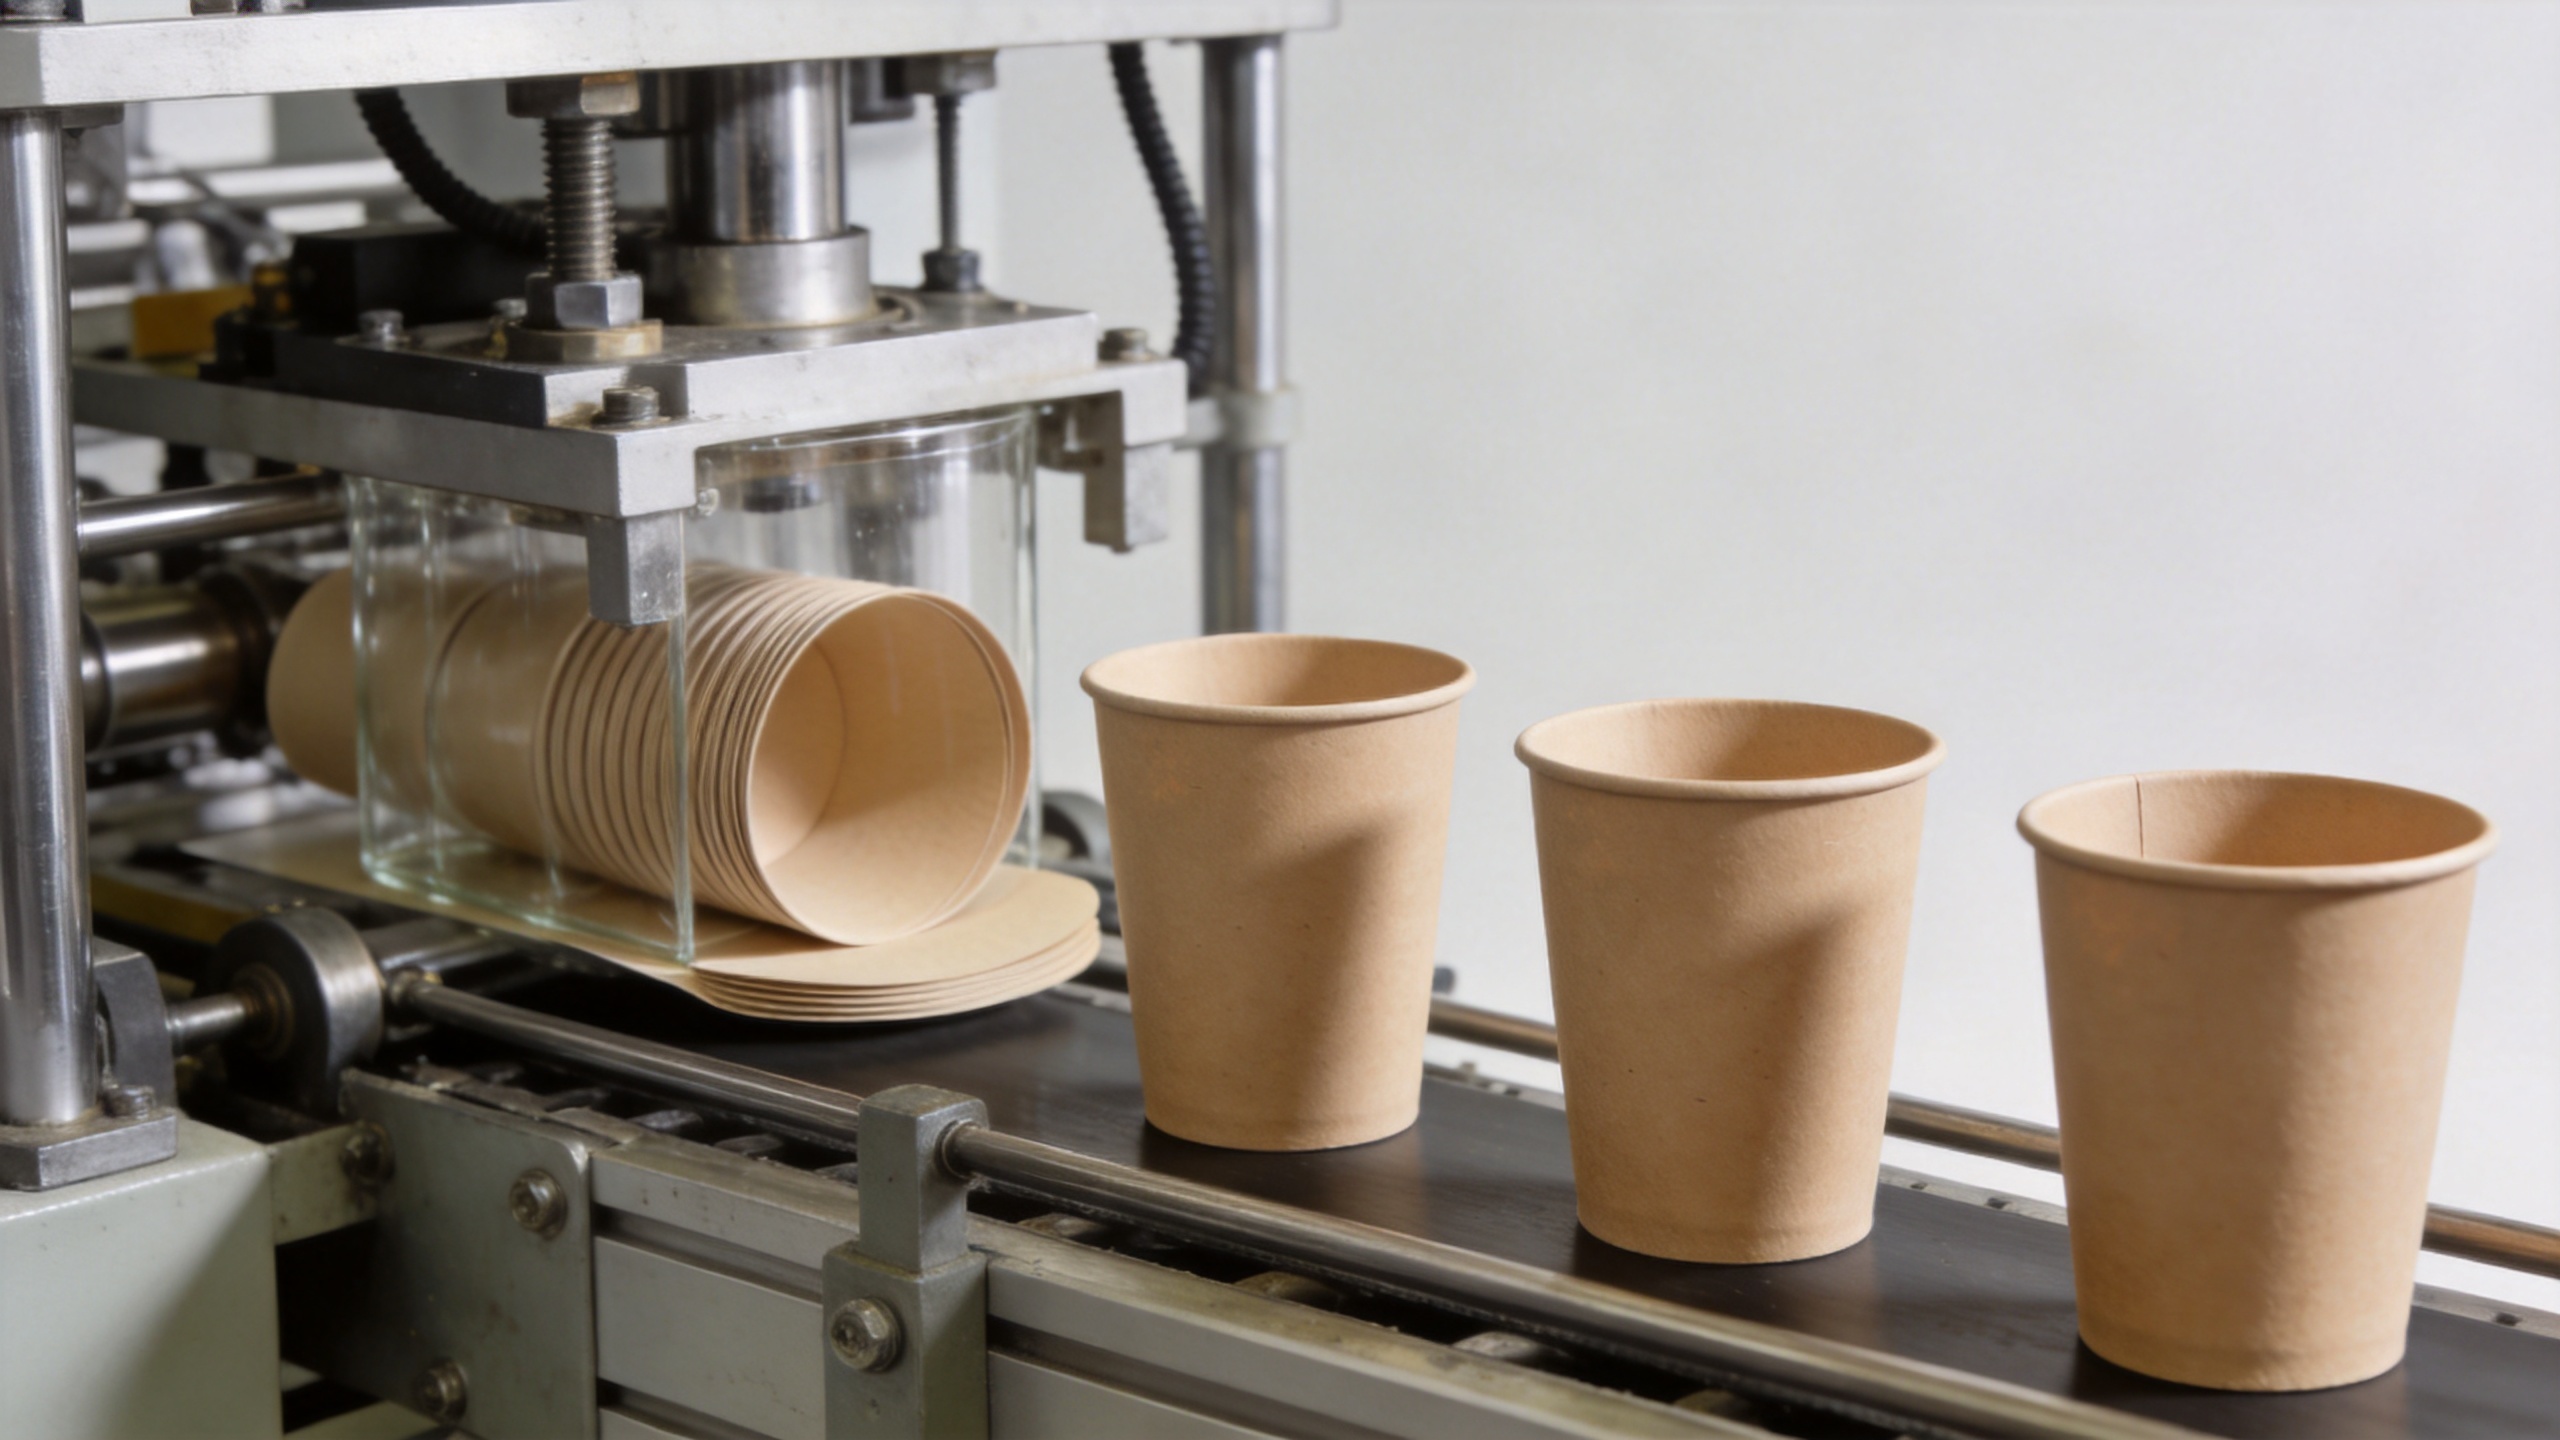
A paper cup glass making machine turns prepared paper blanks and bottom discs into finished disposable cups through a timed series of forming stations. From an operator’s point of view, the useful question is not simply whether the machine is automatic. It is whether material feeding, heat sealing, bottom forming, curling, and discharge remain coordinated for the cup size and paper stock in use.
This guide follows the operating path in plain language. It is intended for production teams, new buyers, and disposable cup manufacturers who need to understand what to inspect before, during, and after a run. Specific controls and station layouts vary by model, so the machine manual and the supplier’s commissioning procedure remain the working reference.
What goes into a paper cup glass making machine?
The process starts with two prepared materials: sidewall blanks and circular bottom pieces. The sidewall blank carries the cup’s printed or plain outer surface. The bottom disc becomes the base. Both must suit the mold, the intended cup format, and the forming conditions. A machine cannot correct every material issue downstream; inconsistent blank cutting, unsuitable coating behavior, or poor stacking can show up as unstable feeding or weak-looking seams.
Before starting, an operator normally checks that the correct mold is installed, guards are closed, utilities are available, and the paper blanks are aligned in the feed magazine. The first cups are not merely output. They are a setup sample: inspect the side seam, bottom shape, rim profile, and whether the cup releases cleanly.
The cup-forming sequence, station by station
1. Blank feeding and sidewall forming
The feeder separates one sidewall blank from the stack and transfers it into the forming path. The blank is wrapped around a mandrel or mold to create the cup body. Its overlap becomes the side seam. Depending on machine design and cup material, the seam is joined with the system’s configured heating or sealing method. If blanks double-feed, arrive skewed, or curl before entering the mold, the fault often begins at the magazine, suction, timing, or blank condition rather than at the final cup station.
2. Bottom feeding and insertion
Once the body has taken shape, a bottom disc is fed into position. The machine brings the disc and cup body together at the base. Timing matters here: a disc that is late, off-center, or damaged can lead to an uneven bottom joint. Operators should watch the feed path and keep the bottom-paper stack clean and properly supported so the pick-up action stays consistent.
3. Bottom punching, folding, and knurling
The lower edge of the sidewall is worked around the bottom disc to create the base joint. Published machine descriptions commonly list bottom punching, folding, and knurling among the main forming functions. Knurling presses and shapes the joint so the base is mechanically formed around the disc. The exact result depends on the material, tooling condition, temperature settings where applicable, and station timing. Rather than increasing settings blindly, compare a defect cup with a sound setup sample and trace the issue back through the station sequence.
4. Rim curling
The top edge is curled to produce a smooth drinking rim and help the cup hold its form. A rough, uneven, or cracked rim can point to a paper-stock issue, a misaligned curl tool, or a setting that needs review. This is why a short visual check of the rim belongs in routine quality inspection, not only in end-of-shift checks.
5. Cup discharge and collection
After forming, the finished cup is released from the mold and transferred to the collection area. A stable discharge path prevents cups from backing up or becoming damaged after they have been formed correctly. Watch how cups leave the machine during the first run and after any adjustment. If the forming stations look normal but cups are dented or pile up, the discharge section deserves its own inspection.
How to start a run without chasing defects later
- Confirm the job specification. Match cup size, paper blank, bottom disc, mold, and the production sample to the planned order.
- Inspect the feed areas. Remove damaged blanks, align stacks, and confirm that sidewall and bottom materials move freely.
- Run at a controlled setup condition. Observe a small group of cups before treating the machine as ready for continuous production.
- Check four visible points. Review the side seam, base joint, rim curl, and cup release. Record what you see rather than describing the result only as “bad.”
- Adjust one cause at a time. When a defect appears, start with material alignment and the relevant station. Changing several settings together makes the cause harder to identify.
Common operating issues and a practical response
| What you see | Where to look first | Practical next step |
|---|---|---|
| Side seam appears uneven | Blank alignment, overlap, and body-forming position | Verify blank orientation and feed consistency before reviewing the sealing station. |
| Bottom joint looks irregular | Bottom-disc feed, body-to-disc timing, and knurling area | Check disc position and compare the joint with an approved setup sample. |
| Rim is not even | Top-edge condition and curl tooling alignment | Inspect the paper edge, clean the station, and confirm the correct cup-format setup. |
| Cups collect poorly after forming | Discharge route and collection area | Clear obstructions and observe whether cups leave the mold cleanly before they reach the collector. |
For a kagaj ka gilas banane wala machine, the same principle applies: trace the problem through the material path instead of assuming the final station is responsible. That approach reduces unnecessary changes and gives the maintenance team more useful notes.
Daily care that supports a steadier run
Routine care is about access and observation. At the start and end of a shift, remove paper dust and scraps from feed areas, inspect the stations that contact the cup, and look for loose material or abnormal wear. Follow the manufacturer’s lubrication and safety instructions; do not substitute a general schedule for the model-specific maintenance plan. During production, keep a simple record of cup defects, material batch changes, setup changes, and stoppages. A log makes recurring issues easier to connect with a particular feed condition or station.
When evaluating equipment for disposable cup manufacturers, ask to see the actual operator path: loading, setup, normal observation points, clearing a minor feed interruption, mold-change steps, and access for cleaning. A stated output rate has limited meaning until those conditions are clear for your cup size, material, and staffing plan.
Questions to settle before selecting or commissioning a machine
- Which cup sizes, paper weights, and coatings will be used first?
- How often will the line change between cup formats?
- What sample acceptance points will be used for seams, bottoms, rims, and cup release?
- Which routine checks belong to the operator, and which require trained maintenance staff?
- What spare parts, training, installation support, and documentation are included in the confirmed scope?
Key takeaway
A paper cup glass making machine runs as a linked forming process: feed the blank, form and join the body, insert and secure the bottom, curl the rim, then discharge the finished cup. The reliable way to operate it is to keep the material path stable, inspect the first cups carefully, and make changes based on the station connected to the visible defect. That gives a production team a more controlled basis for daily operation and future machine evaluation.
 ONLINE