
 EN

How Paper Cup Making Machinery Works?
Paper cup making machinery turns pre-printed, food-contact paper blanks and separate bottom discs into finished cups through a timed sequence of feeding, forming, heating, sealing, shaping, and collection. The exact stations vary by configuration, but the process is easier to assess when you follow the material rather than starting with a headline speed figure.
From an operator’s viewpoint, a machine is practical when the path for paper, heat, tooling, and finished cups is clear. This guide explains that path, the checks that matter at each point, and the questions to settle before comparing a paper glass and cup making machine with another option.
What enters a paper cup forming line?
A typical paper cup making machinery setup receives two prepared components: a side-wall blank and a round bottom blank. The side-wall blank has usually been printed, die-cut, and supplied with the correct coating or treatment for the intended cup use. The bottom disc must match the chosen cup diameter and material behavior. Before production starts, the operator also confirms the cup size, paper grade, coating compatibility, tooling set, and planned changeover sequence.
This is why cup capacity alone is not enough for machine selection. Two cups with a similar volume can use different wall shapes, rim requirements, paper weights, or bottom dimensions. If the paper stock and cup geometry are already confirmed, the machinery discussion becomes much more useful.
The paper cup making process, station by station
1. Feeding and indexing the side-wall blank
The feeder separates a blank from the stack and positions it for the next station. Reliable separation matters because a double feed or a skewed blank can carry an error through the rest of the cycle. At this point, watch the feed path, blank orientation, and whether the material moves smoothly into the forming area.
2. Forming the cup body and sealing the side seam
The blank is wrapped around a mandrel or forming tool to create the cup wall. Its overlap becomes the side seam. A heat-based or other configured sealing method joins that overlap, depending on the material and machine design. The aim is not merely to make the wall look round; the seam must be aligned and adequately bonded for the selected stock. A visible seam variation may point to blank alignment, heat setting, pressure, or material variation rather than to one cause alone.
3. Feeding, inserting, and sealing the bottom
Once the body is formed, a bottom disc is fed into position. The machinery folds or prepares the lower edge so the disc can join the wall. Heat and mechanical forming work together at this stage to establish the bottom-to-wall connection. For a paper glass banane wali machine, this is one of the clearest stations to explain during training because it links material handling directly to the finished cup’s functional shape.
4. Knurling the bottom joint
Knurling compresses and patterns the lower joint to reinforce the connection between the cup wall and bottom. It is a distinct forming action, not a cosmetic afterthought. When reviewing samples, look at the bottom knurl separately from the side seam. An uneven pattern or inconsistent joint calls for a structured check of paper behavior, tooling condition, alignment, and the relevant process settings.
5. Curling the rim
The top edge is curled to create a smoother rim and add stiffness. Curl quality depends on the relationship between the paper, cup geometry, rim tooling, and setup. A clean curl should be evaluated as part of the whole forming path: a problem seen at the rim may originate in blank handling or body formation earlier in the cycle. More accurately, not every cup-shape issue comes from the same station.
6. Inspection and cup collection
Finished cups move to collection, where operators can sample for shape, seam appearance, bottom-joint condition, rim formation, and clean transfer. Automated sensing and collection arrangements differ by model, so their scope should be confirmed with the supplier rather than assumed. The useful question is whether the machine makes abnormal conditions easy to identify and isolate during normal operation.
How the main machine systems work together
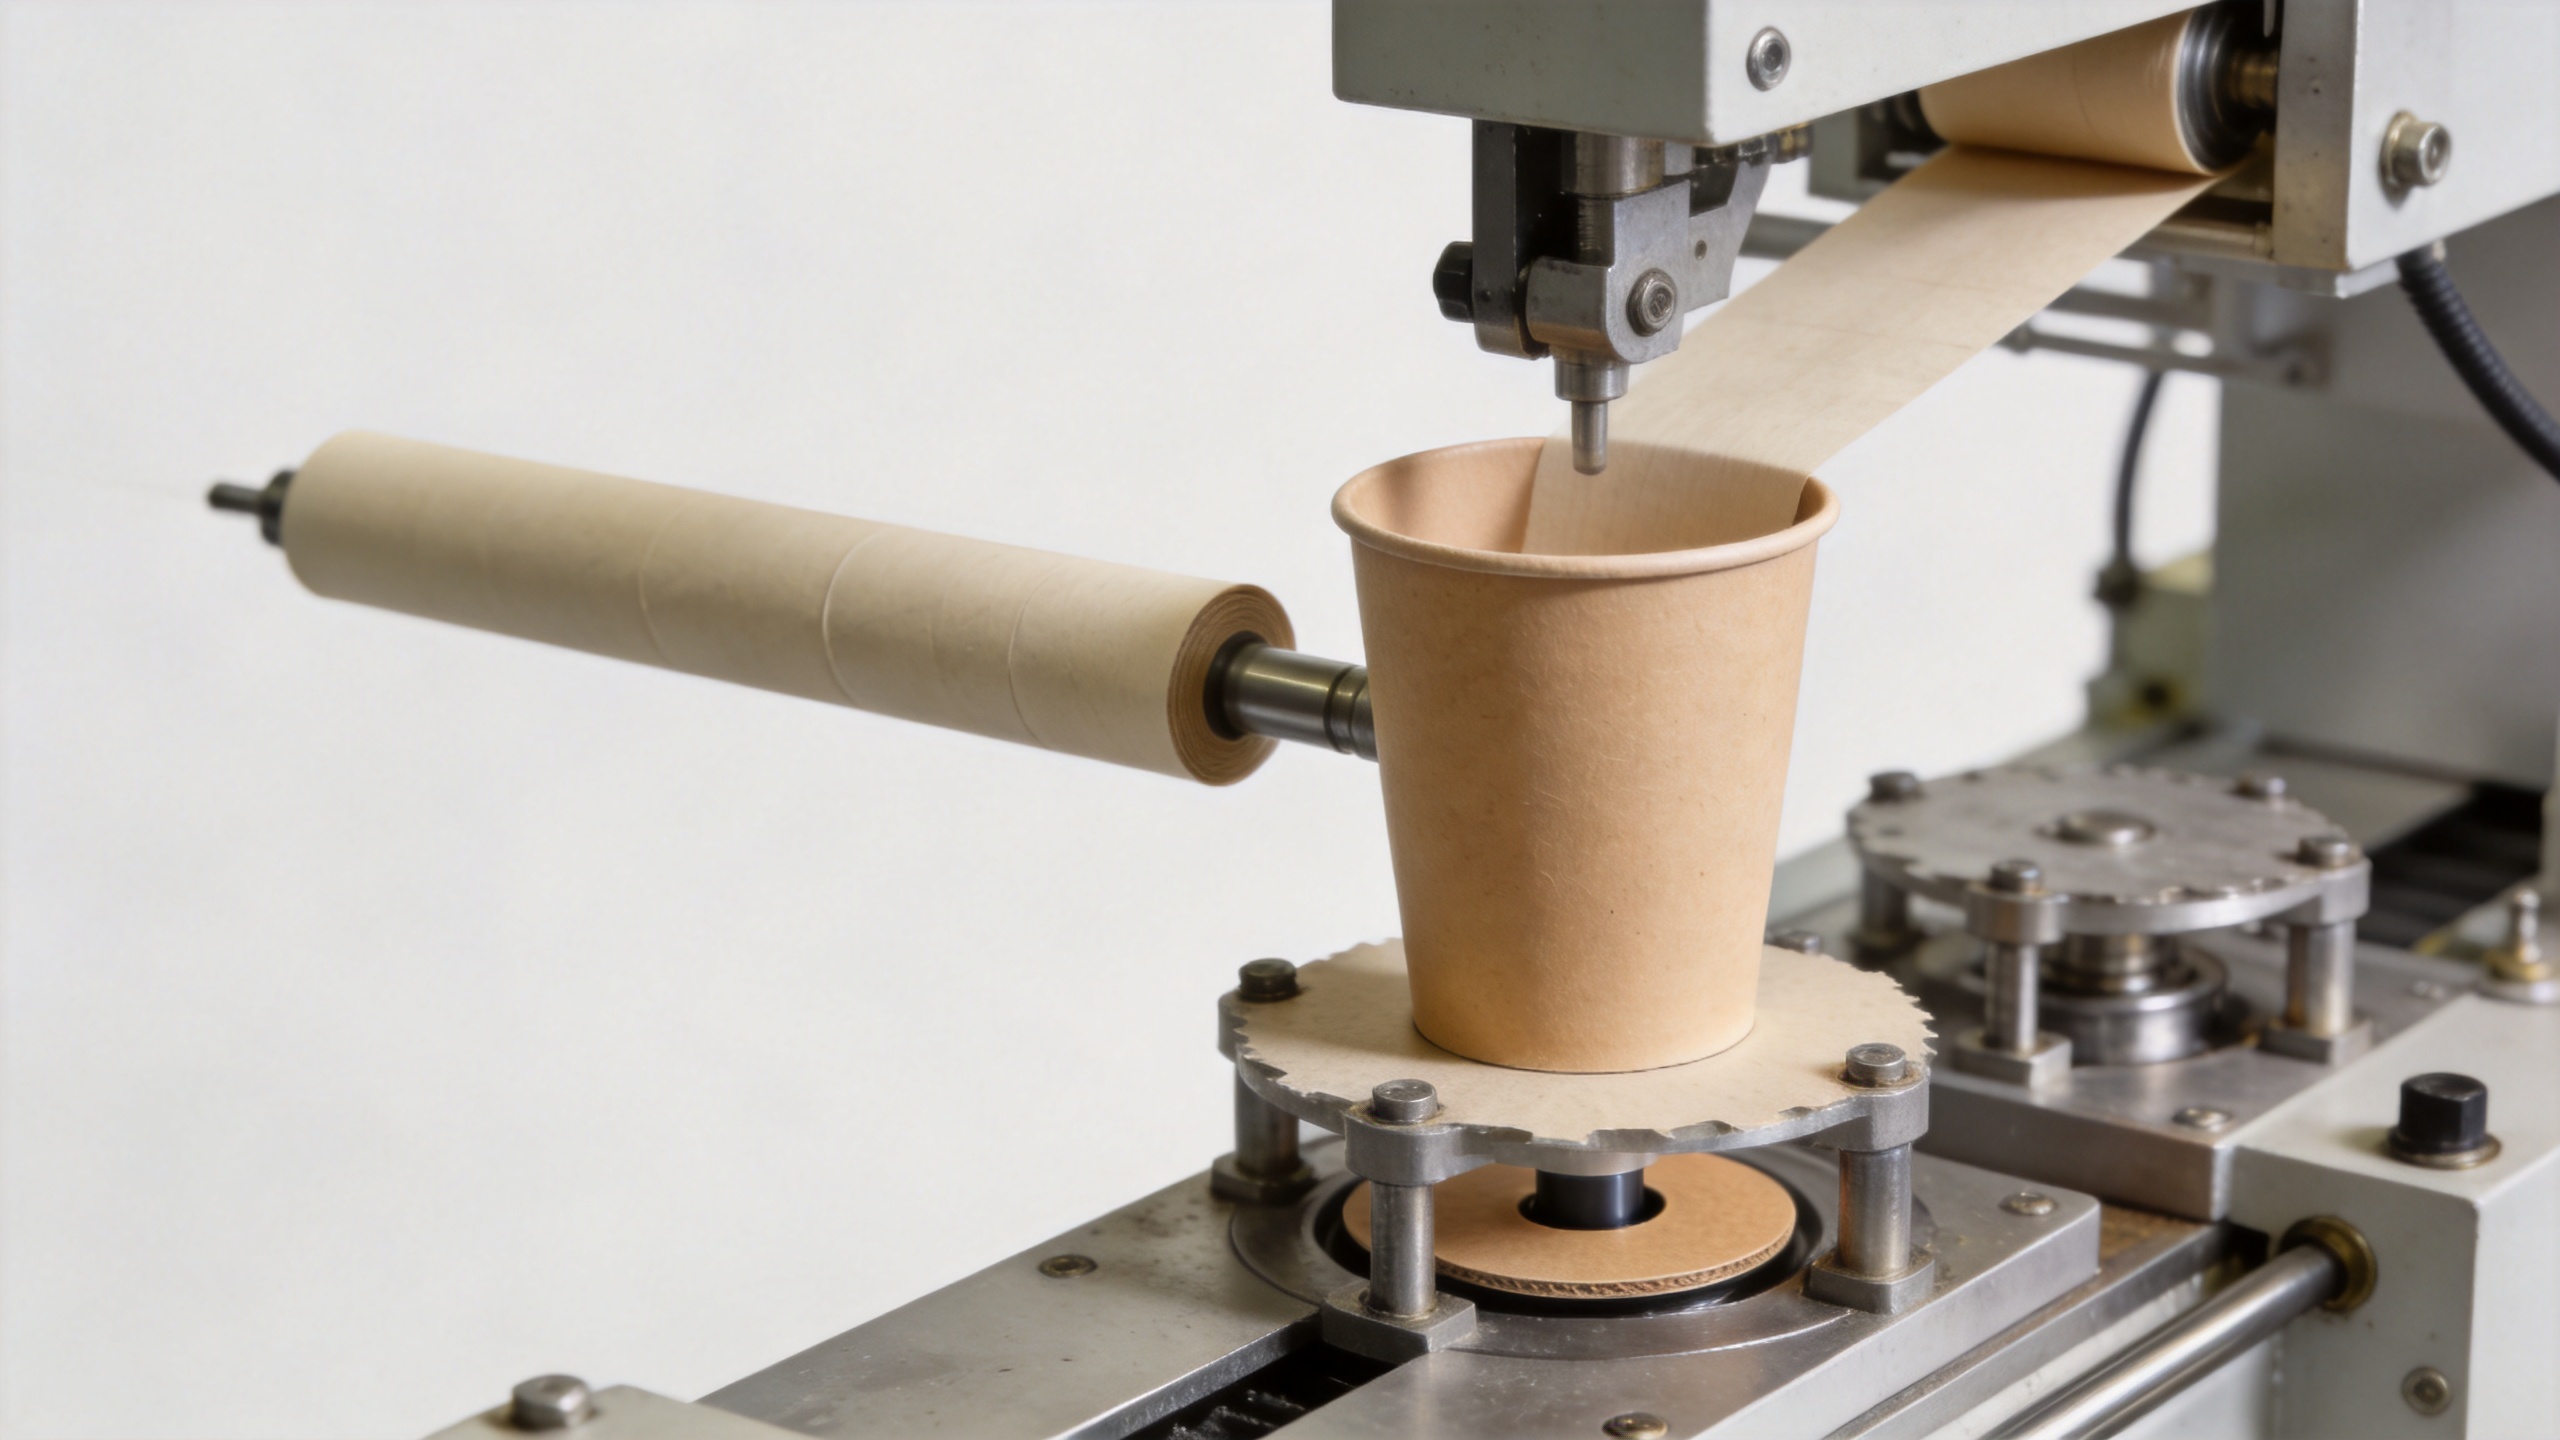
Paper cup making machinery is a coordinated system rather than a group of independent stations. The feeding system supplies material on time; the forming system holds geometry; the heating and sealing system supports the selected material; the drive and control system synchronize movement; and the collection section transfers finished cups onward without disrupting the cycle. A change to one area can affect another. For example, a change in paper stiffness can alter feeding behavior and also affect how the body and rim respond to forming.
That relationship is also why the highest stated speed is not automatically the right comparison point. If frequent changeovers are important, ask how tooling changes, adjustments, cleaning access, and operator training fit the production plan. If one cup format will run for long periods, the priority may instead be stable material flow and repeatable inspection routines.
Practical checks when cup quality changes
- Side seam: Check blank overlap, material orientation, sealing conditions, and forming alignment.
- Bottom joint: Review bottom-disc feed, lower-edge forming, knurl pattern, and material consistency.
- Top curl: Check the cup body’s upstream shape, rim tooling, paper behavior, and cleanliness around the curl station.
- Feed interruptions: Look at stack preparation, separation settings, blank condition, and transfer timing before changing multiple settings at once.
- Changeovers: Record the tooling, paper, and setup changes required for each cup format so the next setup starts from a clear reference.
These checks do not replace supplier guidance or site-specific commissioning. They do provide a sensible sequence for describing what the operator sees before deciding which condition deserves closer investigation.
Questions to ask before choosing machinery
- Which cup sizes, shapes, paper grades, and coatings will be used first?
- Will the line mainly run one format or change formats often?
- What sample criteria will be used to review the side seam, bottom knurl, and top curl?
- Which tooling, setup instructions, spare parts, and operator-training items are included in the proposed scope?
- How will installation support, acceptance conditions, and routine maintenance responsibilities be documented?
Put those answers into a written comparison sheet. It keeps the discussion focused on the production conditions that matter, rather than on a generic specification list.
Conclusion
Paper cup making machinery works by moving prepared paper components through controlled feeding, body forming, side-seam sealing, bottom insertion, knurling, rim curling, inspection, and collection. The most useful way to evaluate a machine is to trace that sequence against your cup design and material. Start with the intended application, then verify the tooling, material compatibility, changeover needs, and inspection plan before finalizing a configuration.
 ONLINE