
 EN

Introducing the Paper Cup Forming Machine
A paper cup forming machine turns prepared paper blanks into stable, usable cups through a coordinated sequence of feeding, body forming, seam sealing, bottom joining, knurling, and rim finishing. For packaging teams, it is tempting to reduce the decision to cups per minute. That is rarely enough. The more reliable starting point is the cup format, the paper and coating construction, the production rhythm, and the checks needed at handover.
From a packaging-equipment selection perspective, the machine should be matched to the cup before its configuration is discussed. If the paper grade, coating type, cup diameter, height, and intended use are already defined, the conversation about a paper cup forming machine becomes more useful: it shifts from a generic capacity claim to a practical question of process fit.
What a Paper Cup Forming Machine Does
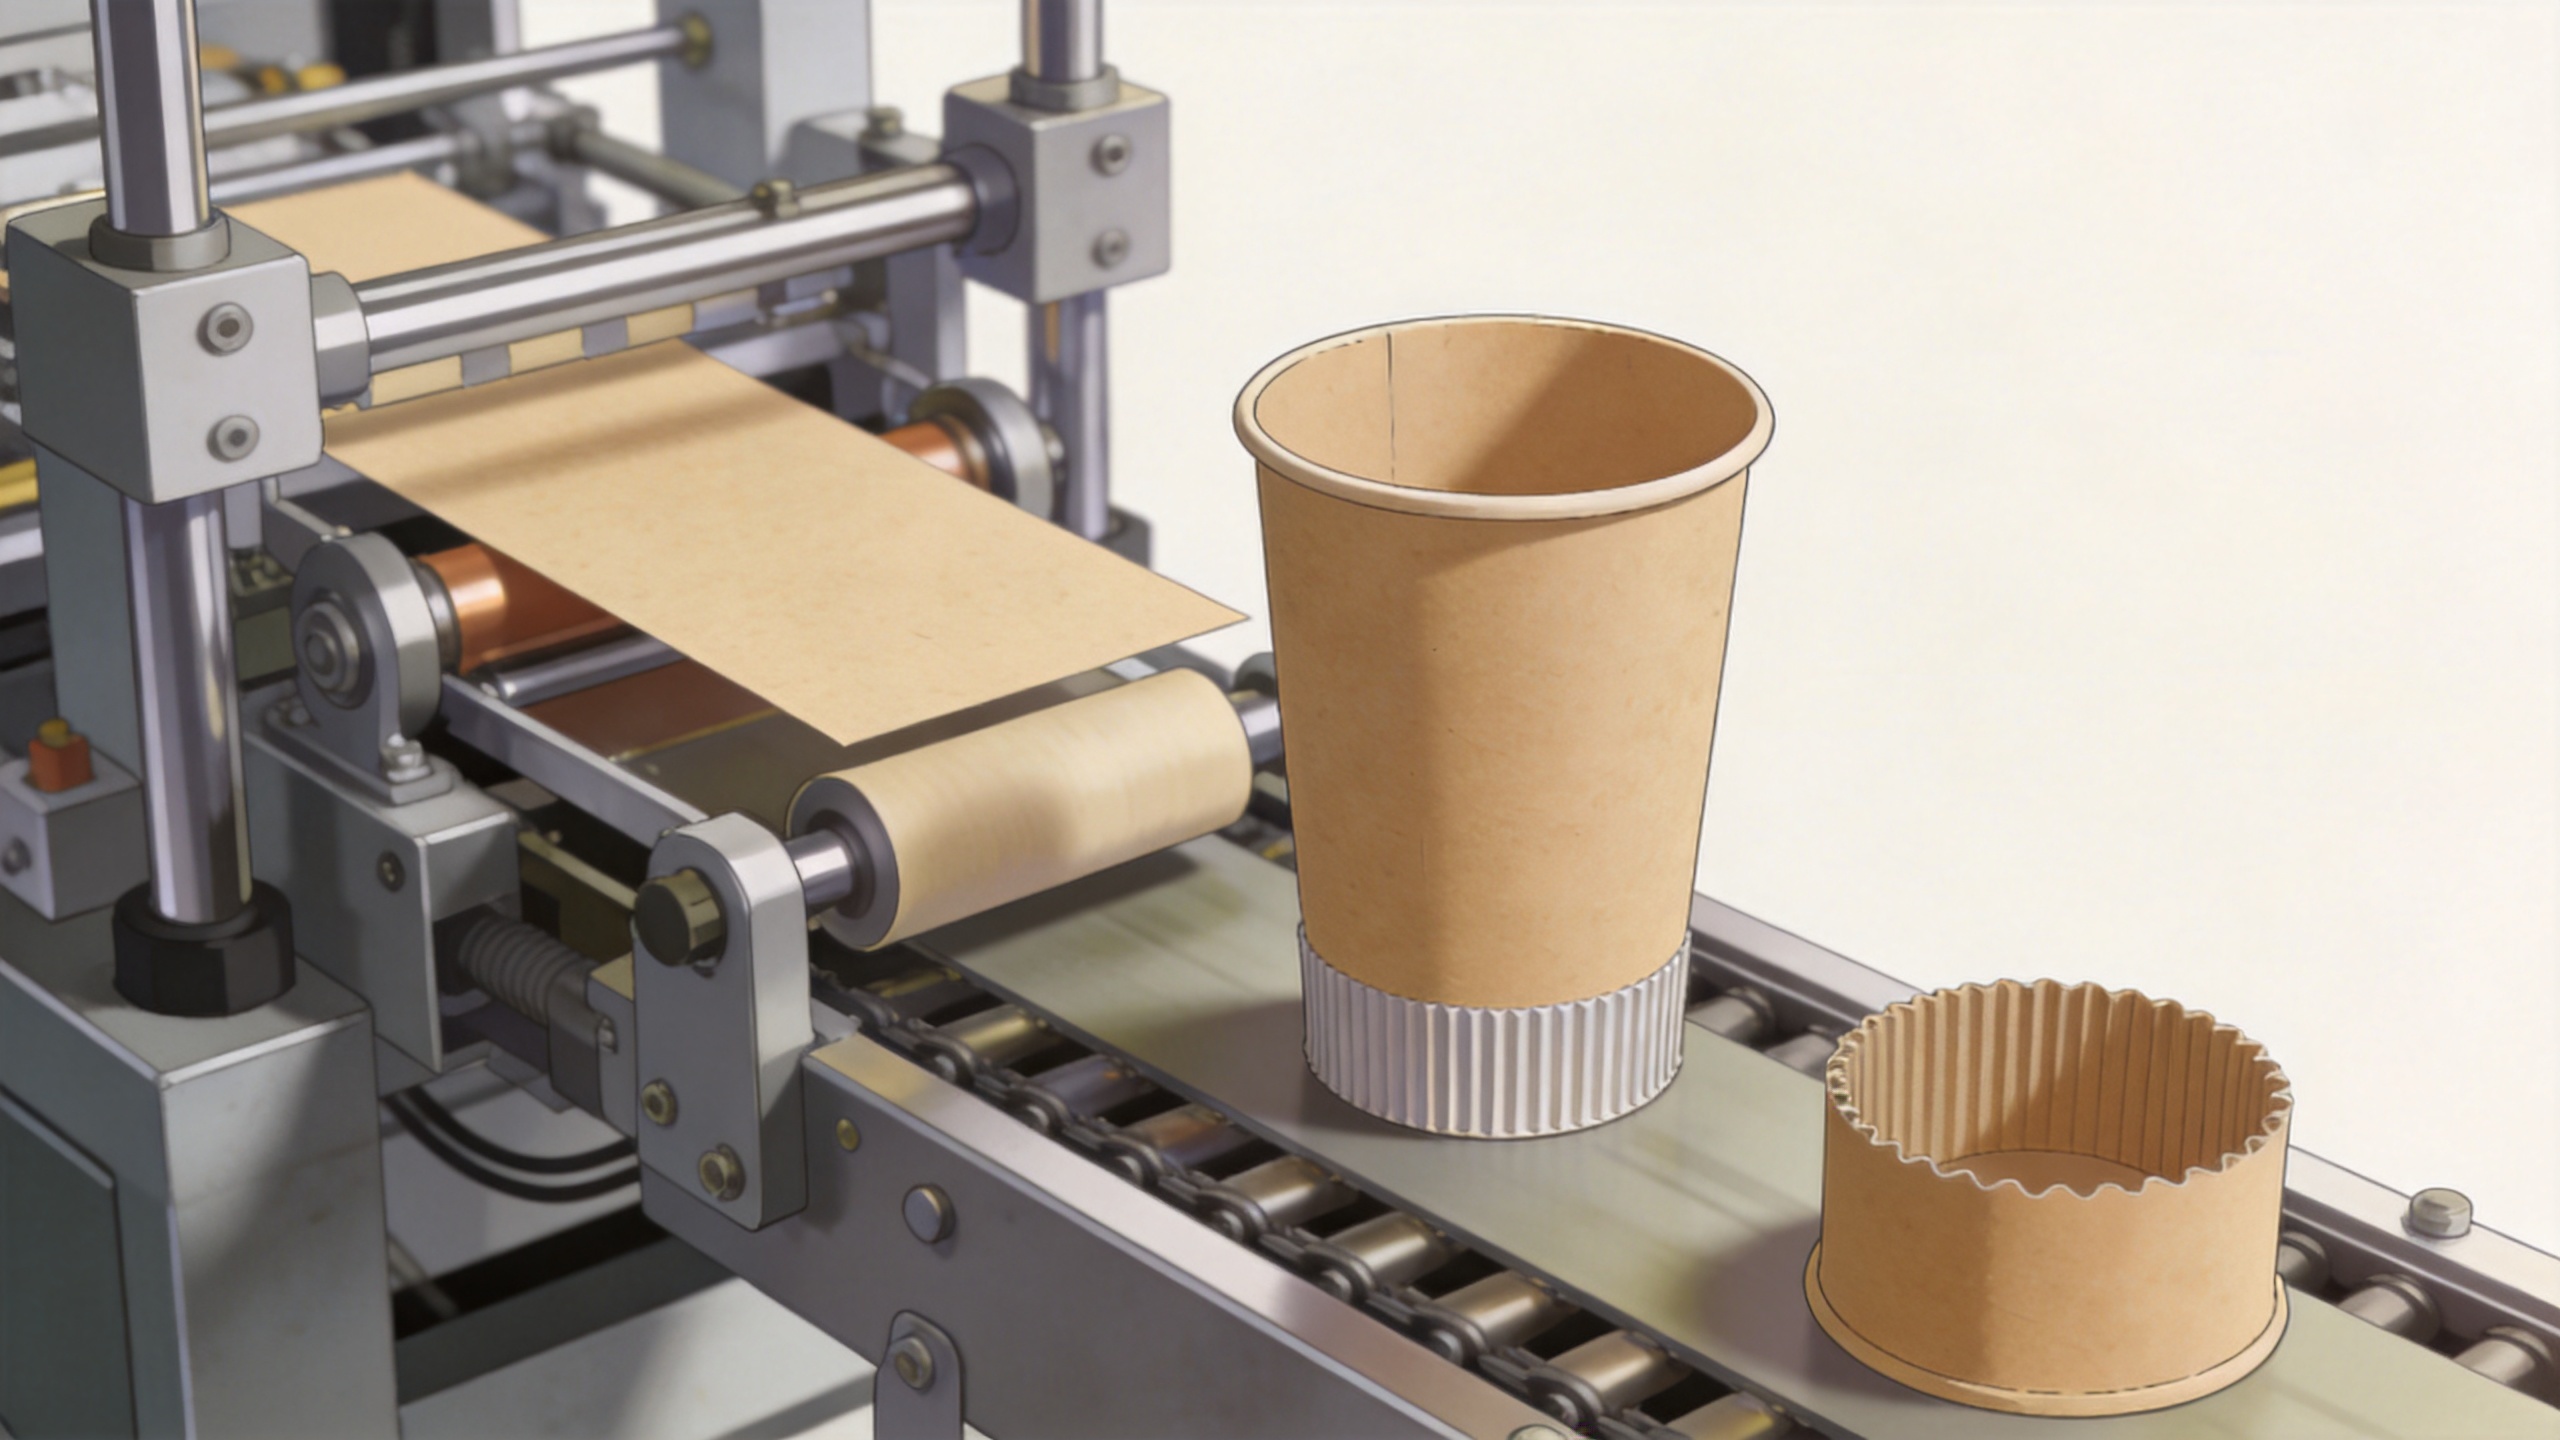
At its core, a paper cup forming machine automates the conversion of die-cut cup fans and bottom discs into finished cup bodies. The process normally begins with correctly prepared blanks. Each blank is picked up, wrapped around a forming mandrel, and joined at the side seam. A bottom piece is then introduced and joined to the body. Knurling, heating or other sealing activation appropriate to the material, and rim curling complete the functional cup geometry.
These stages are related, but they are not interchangeable. A clean body seam does not by itself confirm that the bottom joint will be secure, and a well-shaped rim does not prove that the cup will suit the selected paper stock. That distinction matters when a buyer is reviewing a paper cup body forming device for hot, cold, coated, or specialty cup applications.
From Flat Blank to Finished Cup: The Forming Sequence
1. Blank feeding and body wrapping
Prepared fan-shaped blanks are separated and delivered into the forming area. The blank is wrapped around a tapered tool or mandrel to create the basic cup wall. Consistent feeding helps keep the printed side, overlap position, and body geometry under control. In practical terms, buyers should confirm the allowable blank dimensions and whether their artwork, die-cut tolerance, and paper stiffness are compatible with the planned process.
2. Side-seam formation
The side overlap is joined using the method suitable for the cup material and machine design. This is a key quality point because the seam must remain aligned while downstream stations handle the body. When evaluating a paper cup forming machine, ask how the seam location is controlled, what material conditions are required, and how an operator verifies the result during setup. The answer should be specific to the proposed material rather than a universal promise.
3. Bottom insertion, joining, and knurling
A bottom disc is positioned in the formed body and joined around the lower circumference. Knurling creates the mechanical interlock and compression pattern that supports the bottom connection. This is one reason the terms paper cup body forming device and finished-cup equipment should not be treated as identical: cup-body creation is one part of a broader forming and finishing process.
4. Rim curling and discharge
The top rim is curled to create a smoother drinking edge and a more stable finished profile. A paper cup shaping equipment discussion should include this finishing station, because rim quality can affect stackability, handling, and the appearance of the final cup. After inspection points are established, acceptable cups are discharged for packing or the next production step.
Why Material Compatibility Comes Before Speed
Paperboard weight, coating construction, blank accuracy, and storage condition can influence how a cup forms and seals. Published machine listings often show their own material and size ranges, but those values belong to those individual configurations. They should not be assumed for every paper cup forming machine.
For food-contact cups, equipment capability and material compliance are separate checks. In the United States, rules in FDA 21 CFR Part 176 address paper and paperboard components used in food-contact applications under their applicable conditions of use. That does not certify a finished cup automatically. Buyers should verify the current documentation for the selected paper, coating, inks, adhesives, intended market, and intended food use before production approval.
How to Evaluate Paper Cup Shaping Equipment
Rather than comparing a single headline number, create a short requirement sheet for the paper cup forming machine. The most useful items are the ones that allow a supplier and production team to test the same assumptions.
- Cup range: Specify top diameter, bottom diameter, height, volume, and whether multiple formats are planned.
- Paper specification: Confirm paperboard grade, coating type, weight range, blank layout, and tolerance.
- Process verification: Define how side seams, bottom joints, rim shape, and leak performance will be checked during trial production.
- Production rhythm: Compare stable output with feeding, inspection, packing, and operator support—not only the machine’s nominal cycle figure.
- Changeover needs: Ask which tooling and adjustments are required when cup dimensions or materials change.
- Service planning: Identify wear parts, setup training, maintenance intervals, and the information needed for remote technical communication.
This approach is especially helpful when two teams use similar words differently. One buyer may use paper cup shaping equipment to mean the entire finishing line, while another is asking only about the cup-body station. Writing the process stages into the requirement sheet avoids a mismatch before the quotation or trial begins.
Commissioning: Turn Requirements into Acceptance Checks
A useful commissioning plan connects the purchase discussion to observable checks. Begin with actual production paper and representative blanks; substitutes can hide material-related issues. Then agree on a trial sequence that covers startup, continuous running, sample inspection, and planned adjustments. Record the conditions used for the trial so the result can be interpreted later.
During the handover, inspect body shape, seam alignment, bottom joining, rim consistency, and any checks relevant to the intended application. If a cup is intended for a regulated food-contact market, keep the material and compliance documentation review in the approval process rather than assuming it is covered by the machine trial. A paper cup forming machine can be evaluated more fairly when its operating conditions and acceptance boundaries are stated in advance.
Choosing the Right Starting Conversation
For many projects, the first question should not be “What is the highest speed?” It should be “What cup are we making, from which material, under which production conditions?” Once those facts are clear, the required paper cup body forming device functions, bottom-processing controls, and rim-finishing needs are easier to discuss.
ZheJiang RUIDA Machinery focuses on paper-cup and food-packaging equipment, including automatic paper cup machine and servo paper cup former directions. A productive technical conversation starts with the cup drawing, paper specification, target market, expected production rhythm, and proposed acceptance checks. That creates a sound basis for determining whether a particular paper cup forming machine configuration is appropriate for the project.
Conclusion
A paper cup forming machine works as a controlled series of forming and finishing stations, not simply a speed rating. By separating body formation from bottom joining and rim finishing, verifying material compatibility, and defining acceptance checks before commissioning, buyers can make a more grounded decision about their paper cup shaping equipment. The result is a clearer specification and a more useful supplier discussion from the first inquiry onward.
 ONLINE