
 EN

Understanding Machine For Paper Cup Production Setup
Setting up a paper cup forming line is less about placing equipment on a factory floor and more about matching a forming process to the cups you intend to sell. A cup size, paper grade, coating, printed blank, production rhythm, and utility plan all affect the conversation. From a packaging-equipment selection perspective, the useful order is simple: define the cup and material first, confirm the operating conditions next, and then discuss the configuration of a forming equipment.
This approach is practical for new lines as well as upgrades. It avoids treating a catalog speed or a feature list as the entire answer. If your project will use several cup formats, frequent changeovers matter. If it will use one established format, stable feeding and clear acceptance checks may deserve more attention. In either case, a cup-production equipment should be reviewed as part of a workflow, not as an isolated purchase.
Start With the Cup, Not the Machine
Before selecting a forming system, create a short specification sheet for the intended cup. Include volume, top and bottom dimensions, height, rim style, paperboard range, barrier treatment, and whether the cup is printed. These details are not paperwork for its own sake; they determine what the forming tooling and material path must handle.
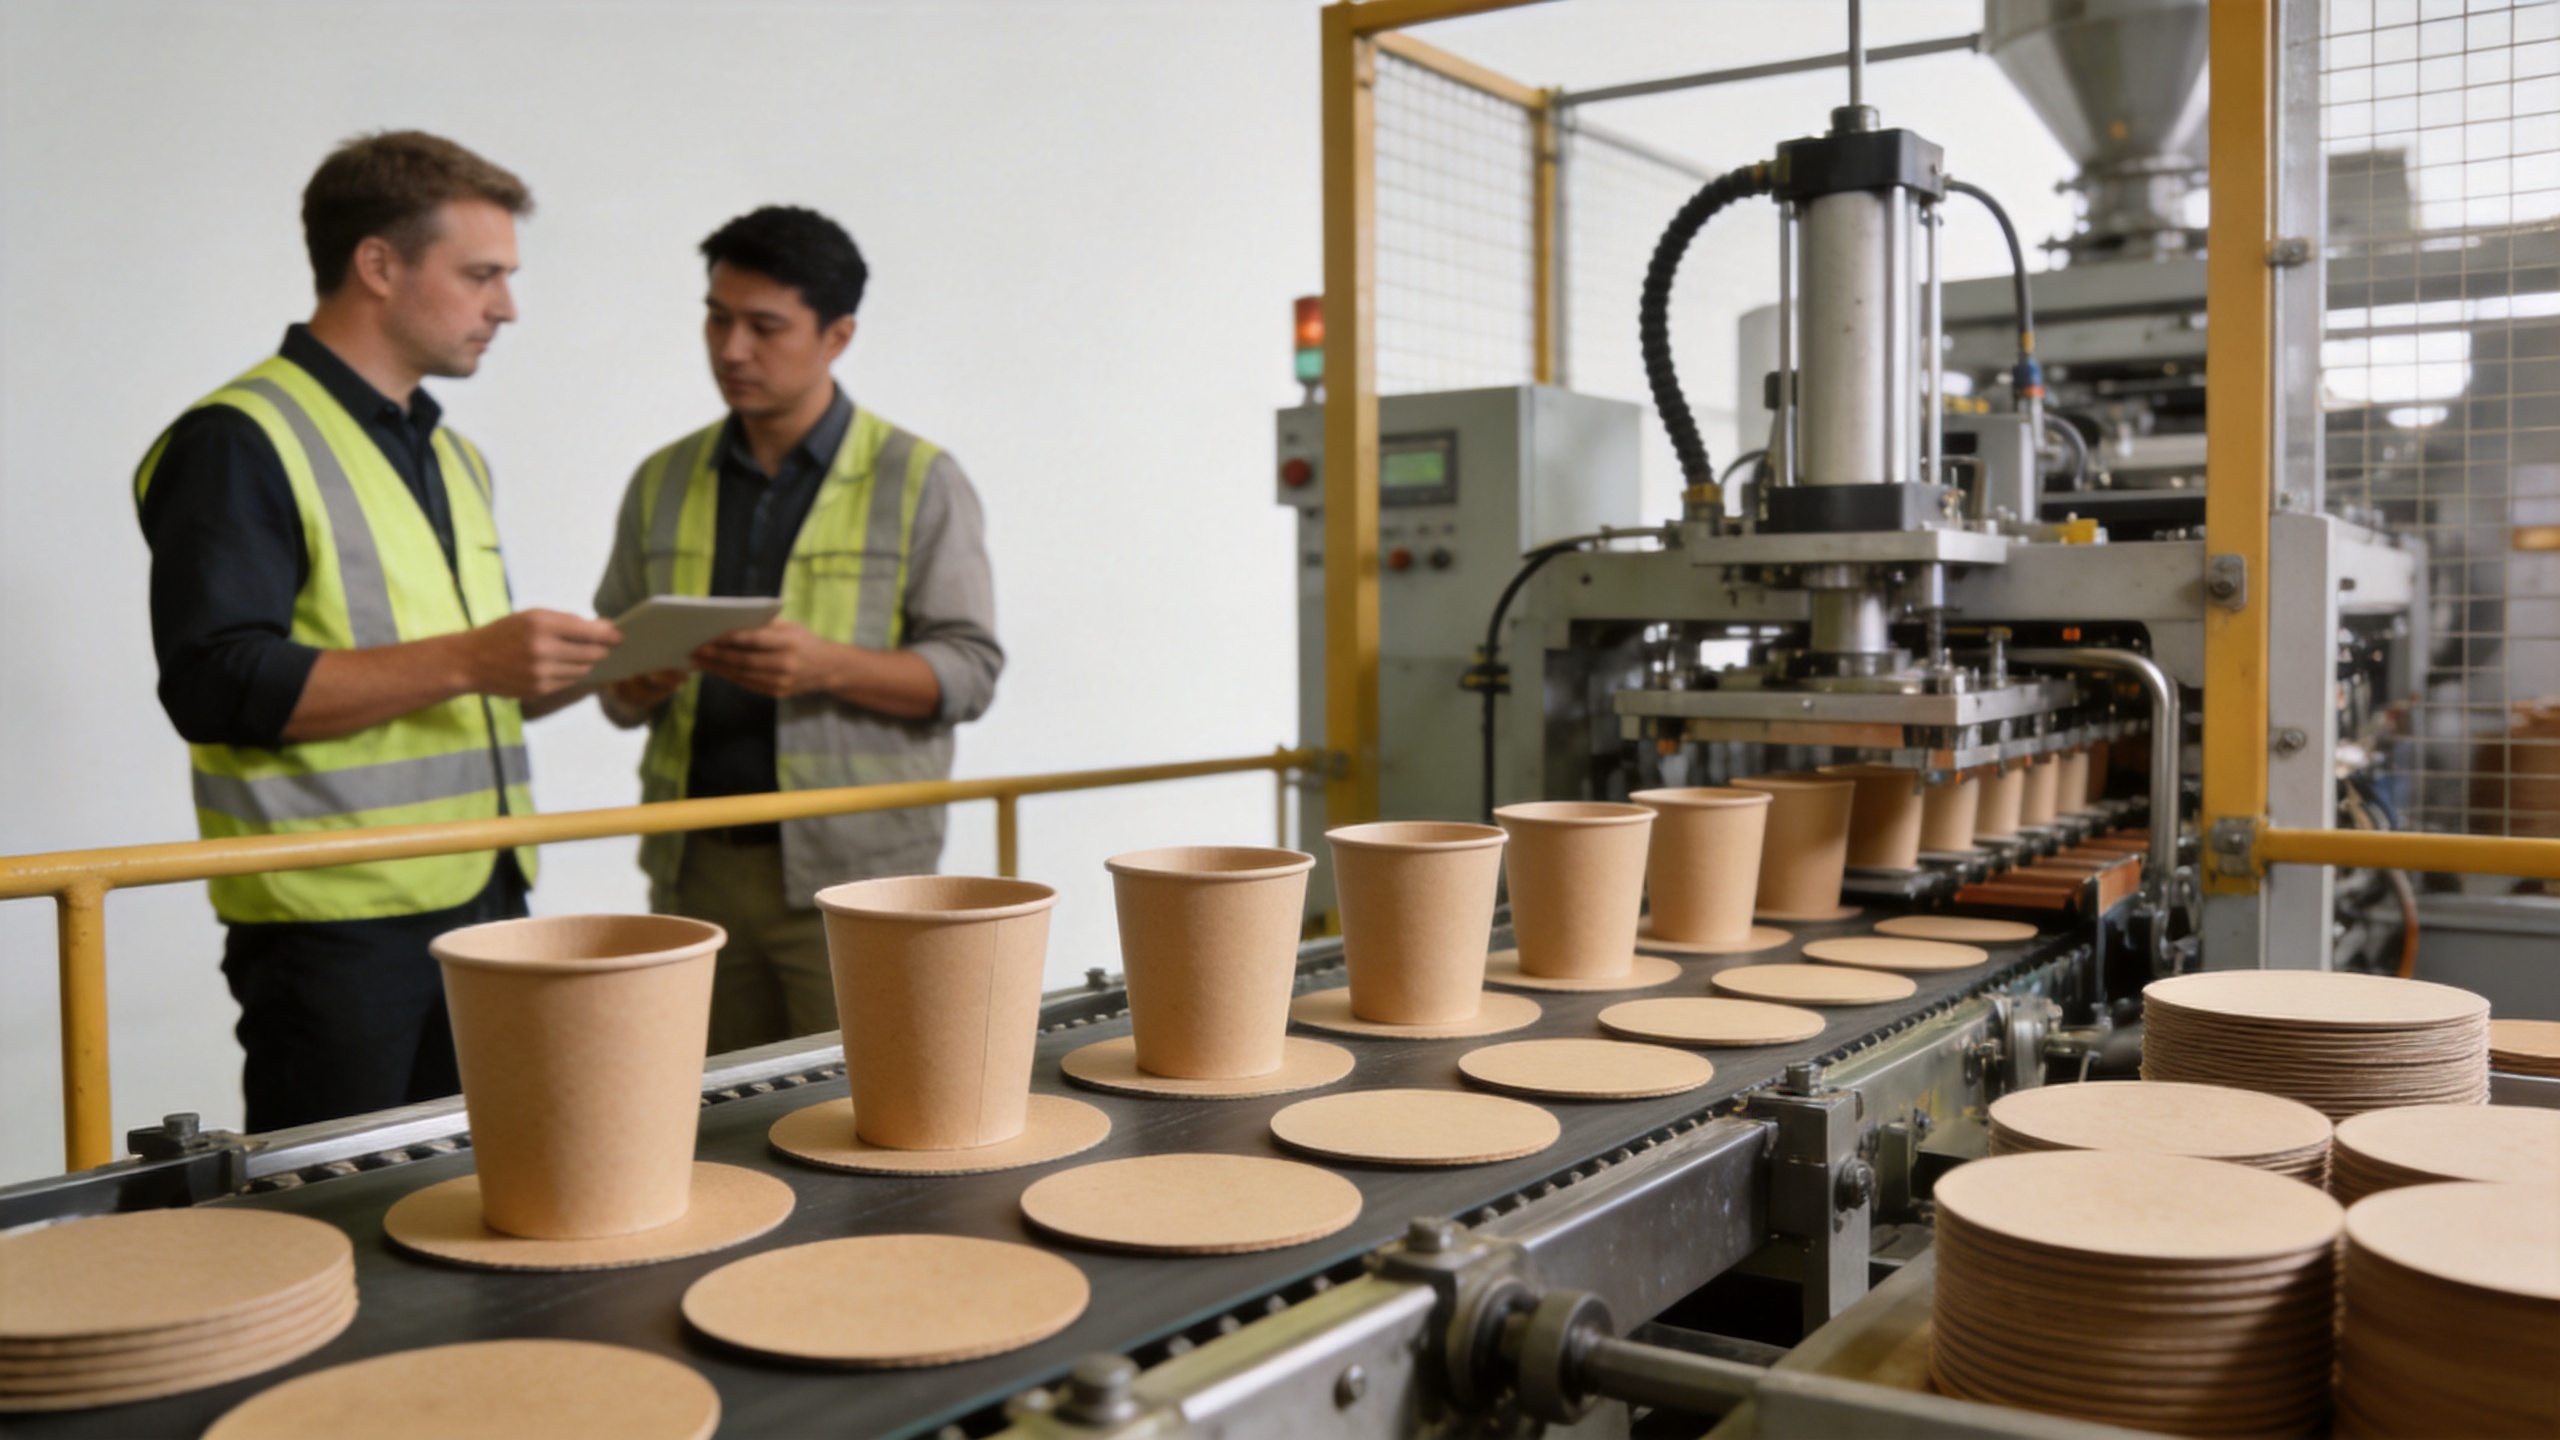
A typical paper-cup workflow turns prepared sidewall blanks and bottom discs into a formed cup. The sidewall is shaped and sealed, the bottom is joined, and later operations can include knurling, rim curling, inspection, and collection. The exact sequence and sealing method depend on the cupstock and equipment design. That is why the same paper cup line description should not be assumed to fit every coated paper or every cup profile.
Ask your technical team to separate confirmed requirements from assumptions. For example, confirm whether the paper supplier, coating type, and blank dimensions have already been approved. A production line may be capable of a format in principle while still requiring a tooling, heating, or trial discussion for the actual material. This is where sample cups and sample blanks become more useful than broad claims.
Map the Production Flow Before You Plan the Layout
For a complete setup, map what happens before and after the forming equipment. Incoming cupstock must be stored and prepared. Printed blanks may arrive from a converter or be coordinated with a separate printing stage. Finished cups need a collection, counting, packing, and quality-check path. The map helps reveal whether the forming machine will be the pacing step or whether an upstream or downstream handoff needs attention.
When branded graphics are part of the project, discuss the print-to-forming handoff early. A flexographic label printing machine may be relevant to the blank-printing side of the workflow, but the print method, blank registration, ink system, and drying requirements must be confirmed separately. Do not treat a flexographic printing stage as an automatic substitute for a cupstock printing solution. The important question is whether the printed blank can be fed, oriented, and formed consistently in the chosen process.
Layout planning should also include safe access for replenishment, inspection, cleaning, and maintenance. Leave room for operators to observe paper feeding, sealing areas, and cup collection without working around obstructions. A well-positioned cup-forming setup is easier to commission because the team can see and correct issues rather than working through a cramped setup.
Check Site Utilities and Operating Readiness
Site readiness is a critical but often underestimated part of a production equipment setup. Confirm the electrical supply stated in the supplier documentation, grounding provisions, air requirements where applicable, ventilation, lighting, floor condition, and local safety practices. Do not copy a voltage or air-pressure figure from a general article into your project plan; the required values belong in the confirmed machine documentation and installation checklist.
It is equally useful to decide who will own each startup task. One person can prepare materials, another can verify utilities, and a third can record trial observations. If a servo machine for paper cup production is under consideration, clarify what the servo-controlled functions are intended to support, how adjustments are made, and what training the operating team will need. A servo-configured forming equipment can support a defined workflow, but it does not remove the need to verify tooling, material behavior, and operator procedures.
Think through the first-shift routine before the equipment arrives: receiving material, loading blanks, checking heat-up or sealing readiness where required, collecting samples, recording rejects, and documenting adjustments. A machine for paper cup production becomes easier to stabilize when these routines are written down rather than kept only in conversation.
Use Commissioning to Verify Conditions, Not Just Start the Line
Commissioning is the point at which a machine for paper cup production is tested against the agreed cup, material, and operating plan. Begin with safe installation checks and a controlled trial. Observe feeding, sidewall formation, bottom joining, rim quality, collection, and any print orientation requirement. Record what is seen, including material batch, tooling, settings approved by the responsible technical team, and the resulting cup condition.
This is also the right time to define acceptance criteria. Instead of asking whether the machine for paper cup production is simply “running,” agree how cup dimensions, seam appearance, rim condition, leakage testing where relevant, reject handling, and output measurement will be reviewed. A target rate should be evaluated under documented conditions, not detached from cup format, paper, operator practice, and trial duration.
One common mistake is to compare only maximum speed. Higher speed is not automatically a better fit if the line must change formats often or if the operating team needs a more gradual training path. Another is to assume that a servo-based option needs no maintenance planning. Regardless of control architecture, discuss inspection points, consumables, spare parts, cleaning access, and escalation contacts before routine production begins.
Build a Practical Setup Checklist
- Confirm the cup drawings, intended capacity, paperboard, barrier treatment, and blank dimensions for the machine for paper cup production.
- Document whether printed blanks are required and how the printing process or other printing workflow connects to blank supply.
- Verify the specific electrical, pneumatic, space, foundation, and safety requirements in the supplier’s documentation.
- Plan access for loading, sample inspection, cleaning, tooling changes, and maintenance around the machine for paper cup production.
- Prepare trial materials and define what operators will record during commissioning.
- Set acceptance conditions for cup quality and output before discussing final handover.
- List training, spare-parts, and support questions for the supplier, including any servo machine for paper cup production functions.
Make the Next Discussion More Productive
A machine for paper cup production setup is most reliable when the supplier receives a clear brief: cup drawings, material information, format-change expectations, projected production schedule, site utilities, and acceptance priorities. That brief helps both sides identify which details are already confirmed and which require a technical review.
RUIDA Machinery focuses on paper-cup and food-packaging equipment discussions. For an initial conversation, prepare the cup sample or drawing, paper specification, target production plan, and questions about installation support. The final configuration should be confirmed through technical communication for your actual materials and operating conditions. That is a more dependable way to turn a machine for paper cup production from a general requirement into a workable production setup.
 ONLINE