
 EN
EN

What Is a Paper Glass Machine and Its Production Workflow?
A paper glass machine is forming equipment used to turn prepared paperboard blanks and bottom discs into disposable drink cups, often called paper glasses in many markets. A buyer should view a paper glass machine as one part of a converting process rather than as an isolated speed figure. Cup diameter, height, paperboard grade, coating, beverage use, changeover needs, and downstream packing all shape the correct configuration.
From a packaging-equipment selection perspective, the useful order is simple: confirm the cup format and material first, then examine the paper glass machine workflow, and only then compare automation or output claims. That approach makes it easier to ask suppliers for evidence that applies to the intended product.
What does a paper glass machine do?
A paper glass machine forms a cup body from a sidewall blank, joins the side seam, adds a pre-cut bottom disc, creates a sealed bottom joint, and finishes the drinking rim. Depending on the design, feeding, heating, sealing, knurling, ejection, and counting may be integrated. The machine does not create raw paperboard or print artwork; those operations normally occur upstream.
In practical terms, a paper glass machine coordinates timed mechanical actions so that each blank reaches the next station in the right orientation. It can be used as single use paper glass equipment when the target is a disposable cup, but the application still has to be defined carefully. A cold-drink cup, a hot-drink cup, and a cup requiring a particular barrier layer may need different material and process validation.
The production workflow, from roll stock to finished cups
1. Prepare and convert cup stock
The workflow begins with cup-stock paperboard selected for the intended use. If graphics are required, printing is generally completed before cup forming. The printed sheet or roll is then die-cut into sidewall blanks and bottom discs. Blank dimensions, scoring, print registration, and clean edges matter because a paper glass machine can only form consistently from inputs that are consistent.
For food or beverage use, the paperboard, coating, inks, and adhesive-related process choices should be checked against the requirements of the destination market. The U.S. FDA food-contact framework, for example, covers paper and paperboard components under relevant regulations, but that is a compliance question for the finished material system—not an automatic claim created by buying a paper glass machine.
2. Feed and shape the sidewall
At the forming section, a feeder presents one sidewall blank at a time. The paper glass machine wraps the blank around a forming mandrel or related tooling to create a tapered cup body. The overlap becomes the side seam. Accurate blank placement and stable material behavior are important here; otherwise, seam alignment and the final cup shape can vary.
3. Seal the side seam
The side seam is activated and pressed so the body holds its conical form. Heat-based and other sealing approaches are associated with different coating systems and machine designs. This is why a paper glass machine should be evaluated with representative cup stock rather than only with a generic sample. A setting that works for one coated board may not be appropriate for another.
4. Insert and join the bottom disc
A bottom disc is fed into the formed body and located at its base. The paper glass machine then brings the wall and bottom together through heating, pressing, and folding actions appropriate to its design. This stage is central to leak resistance, but it should not be described as a guarantee: material, tooling condition, dwell time, and operator setup all influence the result.
5. Knurl the bottom and curl the rim
Knurling compresses and locks the bottom joint mechanically. The rim is then rolled or curled to create a smoother drinking edge and add stiffness. These finishing actions are a key reason why paper glass production equipment should be reviewed as a sequence of stations, not merely as a single forming action. If the cup design includes a special rim, tall profile, or unusual diameter, tooling compatibility should be confirmed early.
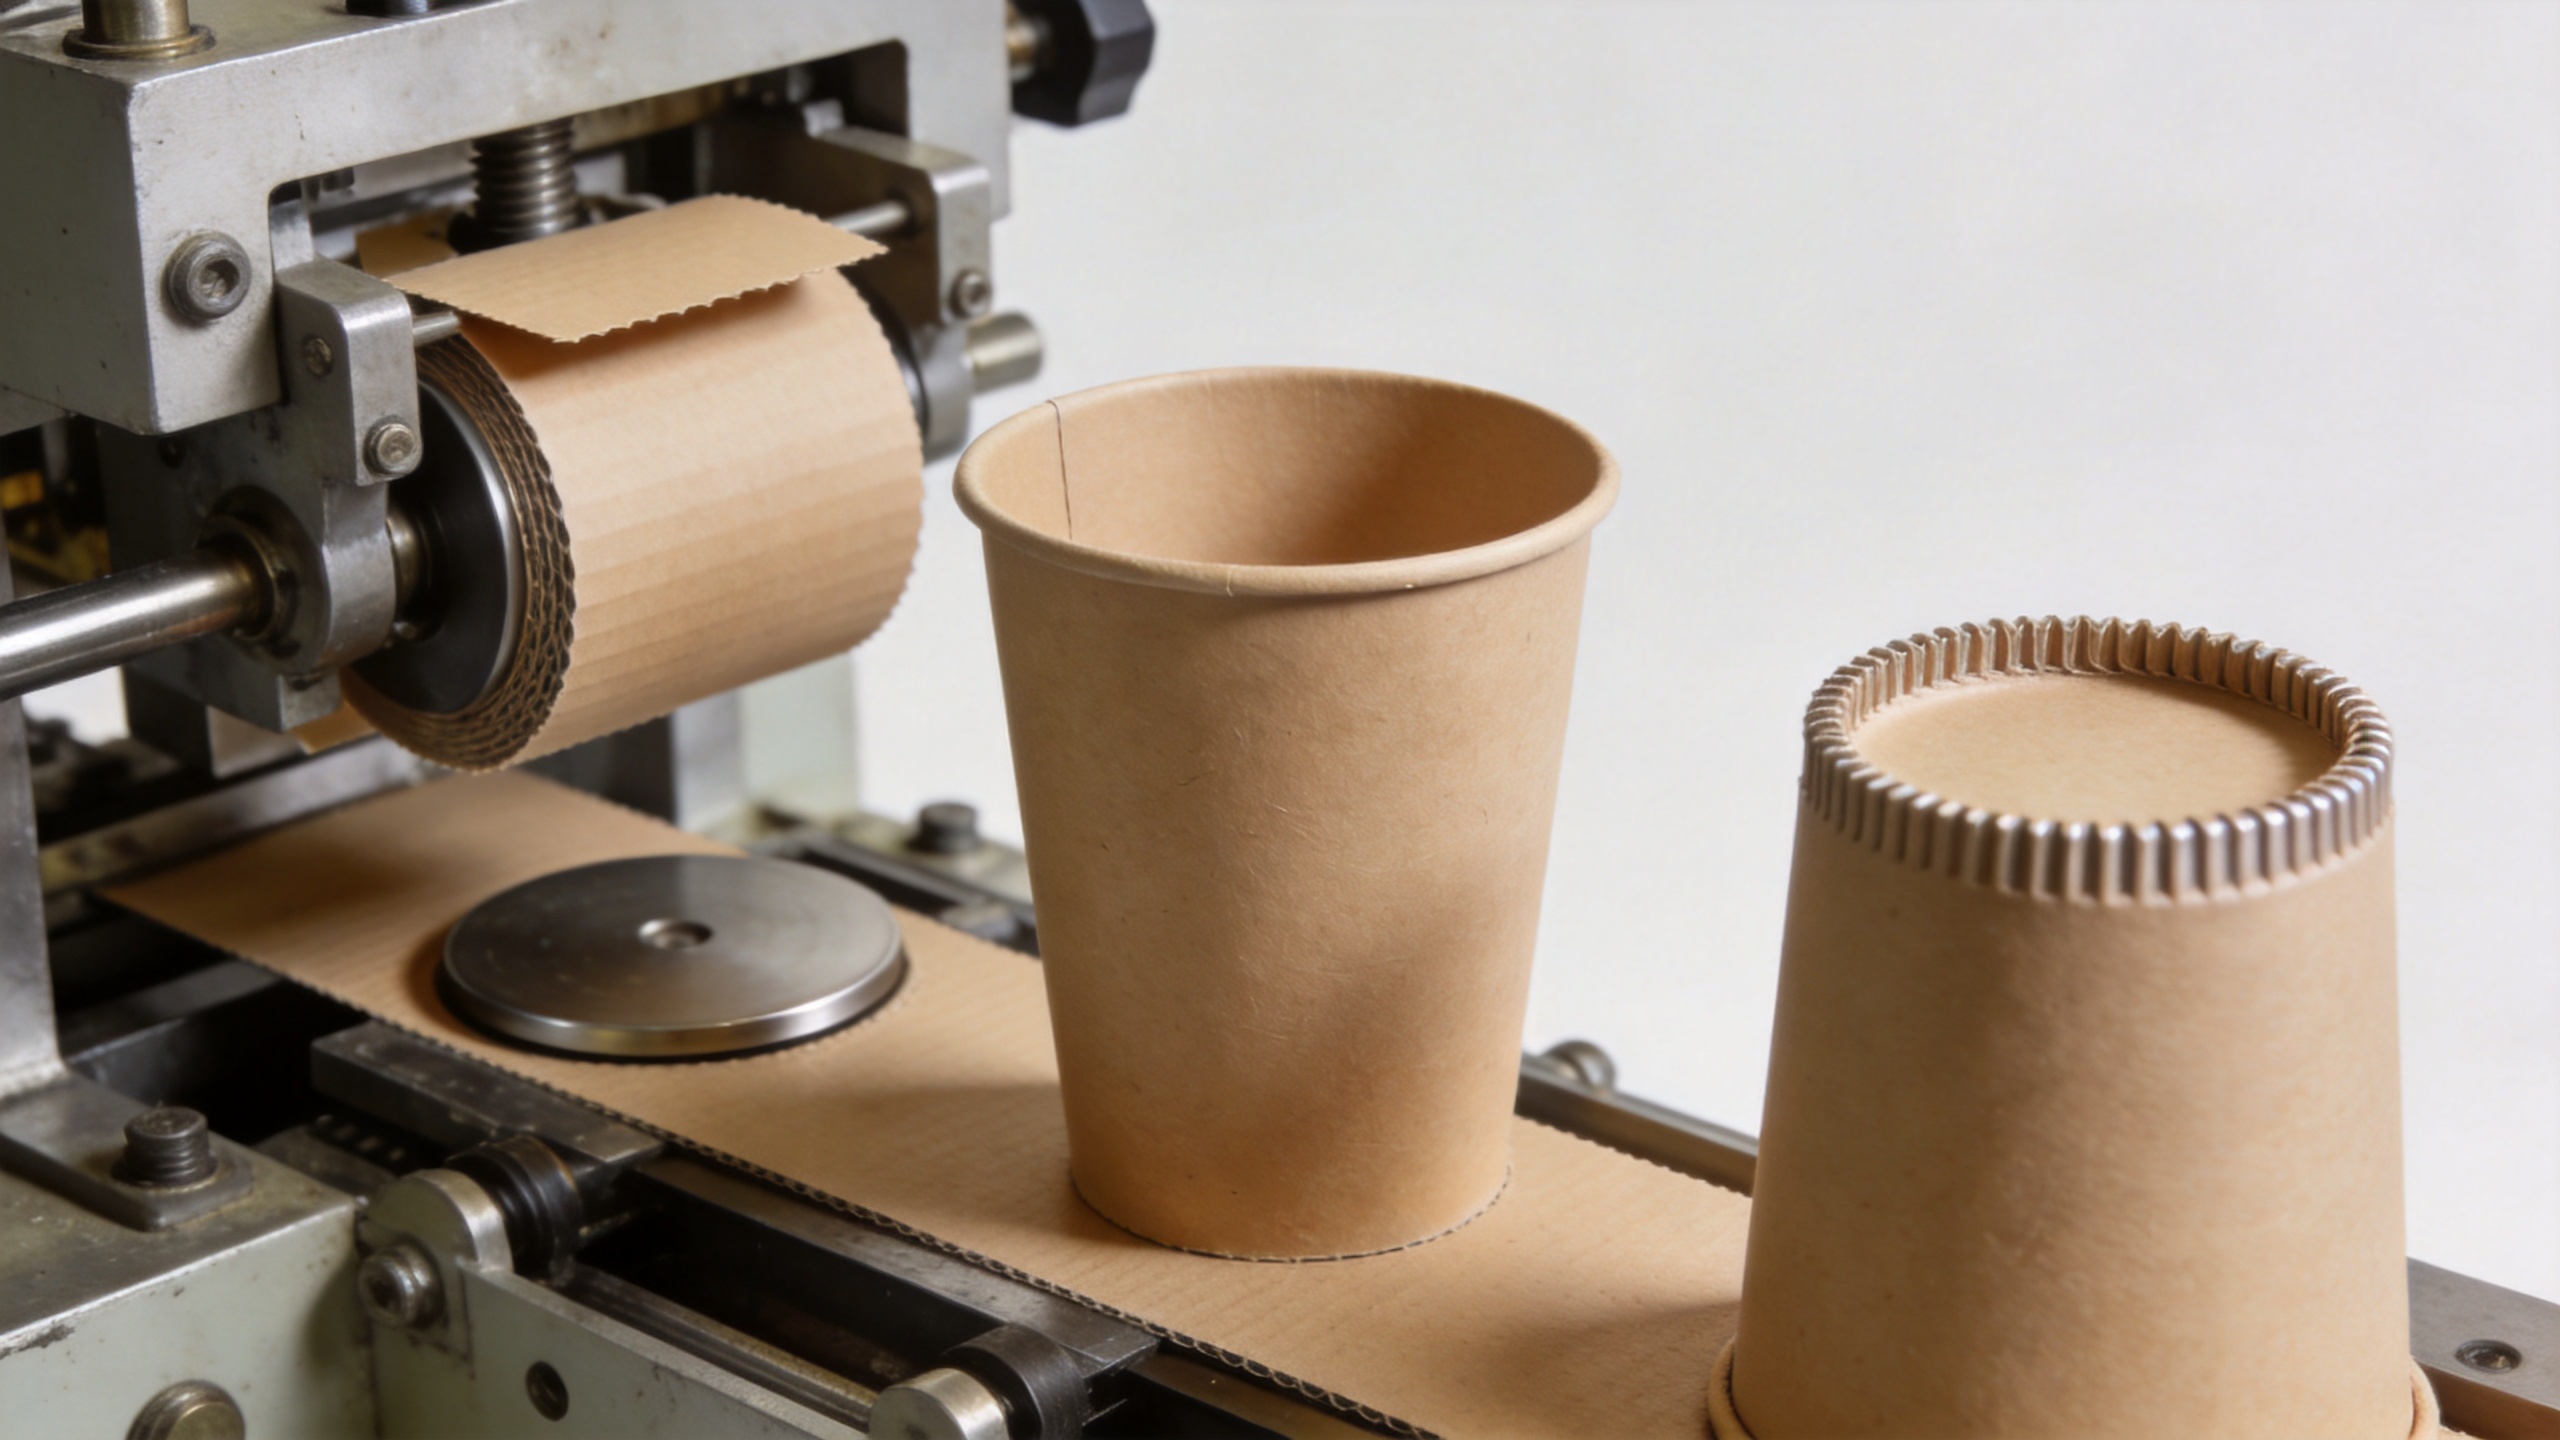
6. Inspect, count, and hand off cups
After ejection, operators or downstream systems can inspect appearance, seam condition, rim quality, and bottom integrity before counting and packing. Many lines also require a planned handoff to sleeve packing, bagging, or carton packing. A paper glass machine may be automated at the cup-forming stage while the broader line still depends on manual material loading or packing; clarifying that boundary avoids misunderstandings.
How to evaluate single use paper glass equipment
When comparing single use paper glass equipment, start with the finished cup rather than the catalogue label. Record cup volume, top and bottom diameter, height, sidewall material, coating type, artwork method, and expected changeover frequency. Then ask how the proposed paper glass machine handles those conditions.
- Material fit: What cup stock and barrier structure will be tested?
- Tooling fit: Which mold set corresponds to the requested dimensions?
- Process fit: How are side-seam and bottom-seam settings validated?
- Line fit: Who supplies blank preparation, inspection, and packing steps?
- Acceptance fit: Which cup samples and quality checks define an acceptable run?
These questions turn a general paper glass machine discussion into a usable technical brief. They also help distinguish a machine capability statement from a proven result under the buyer’s own conditions.
Common workflow problems and what to check first
| Observed issue | First checks |
|---|---|
| Uneven side seam | Blank cut quality, overlap position, material behavior, and sealing setup |
| Bottom leakage | Bottom-disc size, heating/pressing condition, knurling, and material compatibility |
| Rim inconsistency | Rim tooling, cup height tolerance, feed stability, and maintenance condition |
| Output interruptions | Blank feeding, bottom-disc supply, changeover procedure, and downstream accumulation |
Not every issue originates in the paper glass machine. More accurately, a forming defect can reflect the interaction of material, die cutting, tooling, process settings, and operation. A sample run with the intended stock is therefore more informative than a broad promise about speed.
Build a production brief before you source paper glass production equipment
A concise production brief helps suppliers respond accurately. Include the cup drawing or physical sample, material specification, coating information, target output range, utilities available, preferred inspection method, packing expectation, and the market where cups will be sold. For paper glass production equipment, also state whether the project requires a standalone former or coordination with printing, die cutting, and packing equipment.
The most reliable buying decision is not “which paper glass machine is fastest?” It is “which machine, tooling, and process conditions can be demonstrated with my cup design and material?” That shift—from comparing a single number to validating the complete workflow—creates a clearer path to stable production.
FAQ
Is a paper glass machine the same as a paper cup machine?
In many sourcing conversations, the terms refer to similar cup-forming equipment. Confirm the actual cup size, material, sealing method, and tooling scope because terminology alone does not define the configuration.
Can one paper glass machine make every cup size?
Usually, cup sizes and shapes depend on compatible tooling and verified process conditions. Ask which formats a proposed setup supports and what change parts are needed.
What should be tested before purchase?
Test representative blanks and bottom discs, seam and bottom integrity, rim quality, dimensional consistency, and the full handoff to inspection and packing. This gives a more useful evaluation of the paper glass machine than a generic demonstration.
 ONLINE